

Feather stitch embroidery is defined as a decorative hand embroidery technique made of connected, alternating loops that form an open, airy pattern resembling feathers or fern barbs. Also called fern stitch in some traditions, this surface stitch is beloved for its organic, flowing look and surprising versatility. You will find it on quilt borders, botanical motifs, garment edges, and textured fills. Whether you are picking up a needle for the first time or adding new stitches to your repertoire, feather stitch rewards patience with beautiful, natural results that feel genuinely joyful to create.
What is feather stitch embroidery and how does it work?
Feather stitch is a decorative surface stitch built from a series of connected, alternating loops that fan out on both sides of a central line. Each loop anchors the next, creating a continuous chain that looks like the barbs of a feather or the branches of a fern. The open structure is what sets it apart from denser stitches. That airiness gives it a light, graceful quality that suits botanical and nature-inspired designs perfectly.
The stitch sits in the broader family of looped embroidery stitches, which includes the chain stitch and blanket stitch. Unlike the chain stitch, which forms closed oval links, feather stitch creates open V-shaped connections that spread outward. This open-link appearance is the feather stitch definition most embroidery references agree on. The result is a stitch that reads as movement, making it ideal for anything meant to look alive and organic.
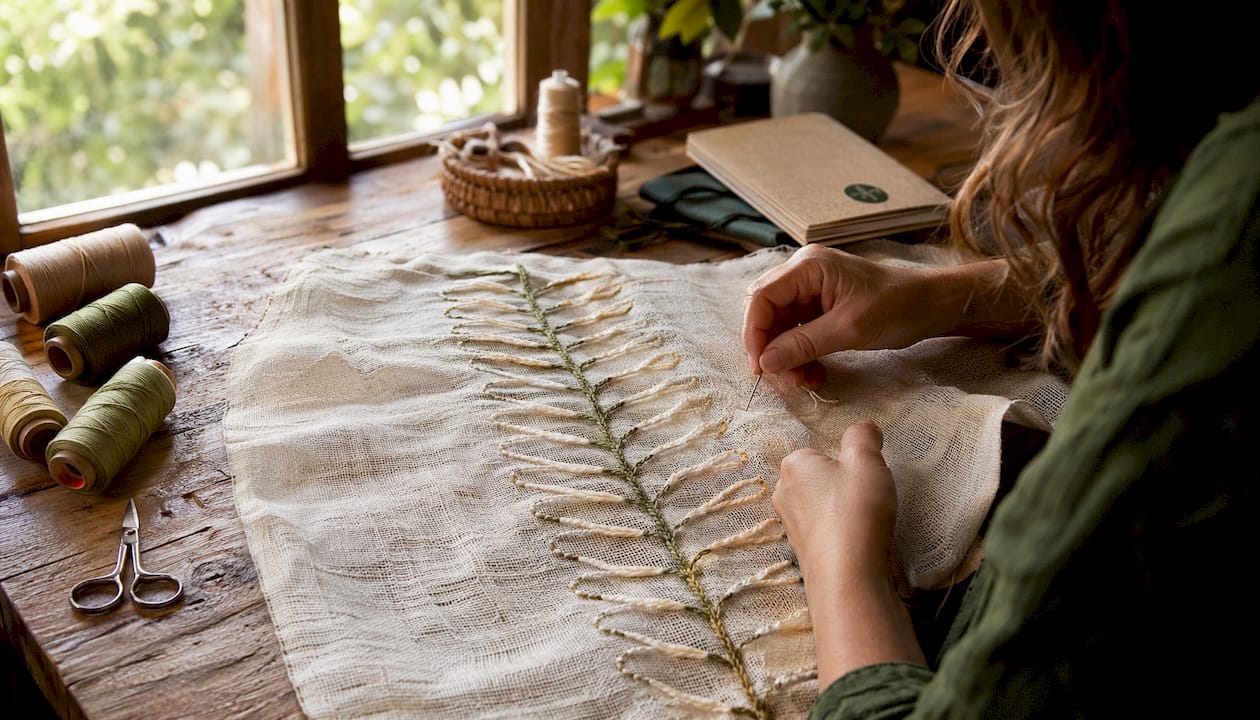
Feather stitch appears across cultures and centuries. Victorian crazy quilts relied on it heavily to cover seams with decorative flair. Today, it remains a go-to stitch for nature-inspired stitch designs, botanical embroidery, and mixed-media textile art.
How is feather stitch embroidery created?
The tools you need are minimal, which makes this stitch very accessible. Gather an embroidery hoop, an embroidery needle, your chosen thread, and a piece of fabric. A water-soluble fabric marker or chalk pencil also helps enormously when you are starting out.
Step-by-step feather stitch tutorial
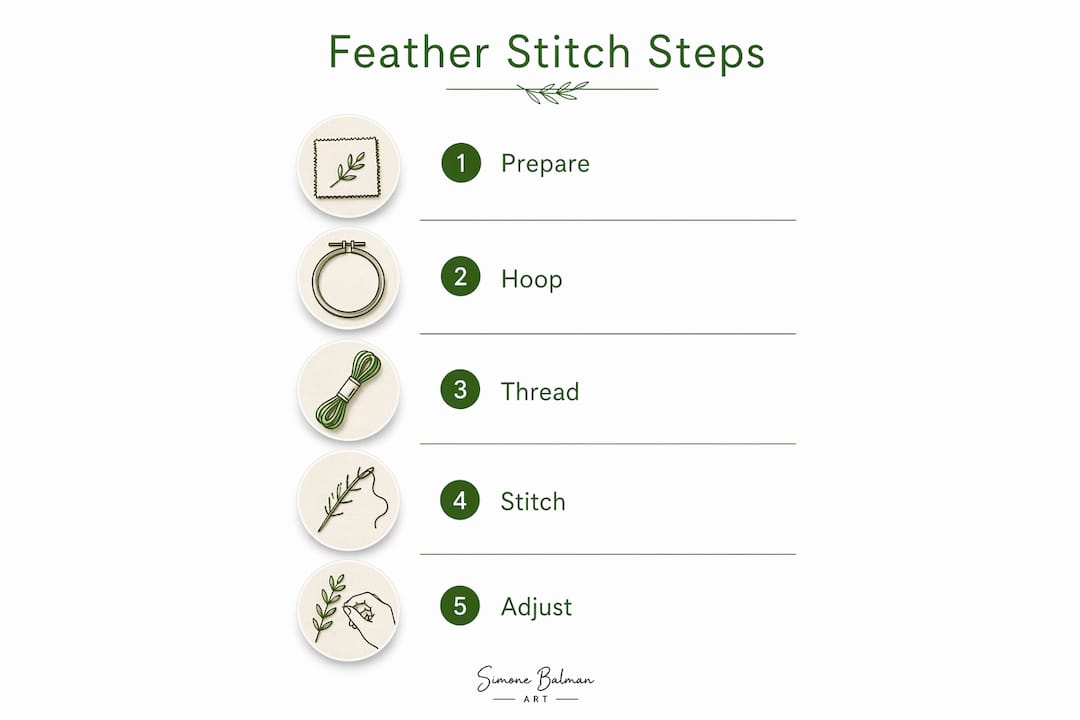
Follow these steps to work a clean, consistent feather stitch:
- Prepare your fabric. Secure it in your embroidery hoop so the surface is taut but not stretched out of shape.
- Mark four parallel guide lines. Four parallel guidelines drawn vertically down your fabric keep loop size and placement consistent. This practice prevents lopsided or messy results, especially on curved lines.
- Bring the needle up at the top center of your working area, between the two middle guide lines.
- Insert the needle to the right at a slight downward angle, then bring the tip back up at the center line below your starting point. Loop the thread under the needle tip before pulling through. This creates your first loop.
- Repeat to the left. Insert the needle to the left at the same downward angle, bring it up at the center, and loop the thread under the tip again.
- Continue alternating right and left loops, working downward. Each loop anchors the previous one, building the feather pattern row by row.
- Anchor the final loop with a small straight stitch to secure the last link before finishing off your thread on the back.
Overtightening thread distorts the open loop structure and causes puckering. Pull each loop snugly enough to lie flat, but leave it relaxed enough to keep that characteristic airy look.
Pro Tip: Maintain a steady rhythm as you alternate sides. Consistent hand movement, not speed, is what produces even loops. Slow down on curves and check your guide lines often.
What are the main variations of feather stitch?
The standard feather stitch alternates loops on both sides of the center line. Several variations shift that balance to create different visual effects.
Single feather stitch vs. standard feather stitch
The Single Feather Stitch places all loops on one side only, producing a neat, slanted border that resembles a blanket stitch with a lean. It looks cleaner and more controlled than the sprawling double-sided version. This makes it a strong choice for garment hems, quilt binding edges, and any project where you want a tidy, directional line.
| Variation | Loop placement | Visual effect | Best use |
|---|---|---|---|
| Standard feather stitch | Alternates both sides | Open, branching, fern-like | Borders, botanical fills, seam covers |
| Single feather stitch | One side only | Slanted, neat, controlled | Garment edges, quilt binding |
| Double feather stitch | Two loops per side before switching | Wider, fuller spread | Decorative bands, statement borders |
Key differences between feather stitch and its close relatives:
- Chain stitch forms closed oval links in a single line. Feather stitch forms open V-shaped loops that spread outward.
- Blanket stitch creates a straight edge with perpendicular loops. Feather stitch angles its loops and alternates direction.
- Fern stitch and feather stitch are often used interchangeably, sharing the same underlying mechanics despite minor naming differences.
Adjusting loop angle, spacing, and width changes the stitch’s texture and energy entirely. Tight spacing creates a dense, lacy look. Wide spacing produces a loose, airy vine effect.
What creative projects work best with feather stitch?
Feather stitch shines in any project that calls for organic movement and natural texture. Its twisting and turning ability makes it ideal for depicting seaweed, coral, vines, and branches without complex color blending. That is a significant advantage when you want naturalistic results without spending hours on shading.
Here are the project types where feather stitch delivers the most joy:
- Botanical motifs. Stitch ferns, trailing vines, leafy branches, and wildflower stems with a single continuous line of feather stitch.
- Ocean and seascape themes. Coral formations and seaweed move naturally in feather stitch, especially when worked in variegated thread. Pairing it with variegated floss techniques adds color depth without extra effort.
- Quilt seam covers. Victorian quilters used feather stitch to hide crazy quilt seams. The stitch is still perfect for this today.
- Decorative borders. Run feather stitch along the edge of a pillowcase, tote bag, or table runner for an elegant handmade finish.
- Textured fills. Use feather stitch to fill large areas with an open, airy texture that reads as foliage or soft background detail.
Pro Tip: Try working feather stitch in two thread colors simultaneously, one on each side of the center line. The result looks complex but only requires the same basic alternating motion.
Experimenting with thread weight also changes the character of the stitch. A single strand of stranded cotton produces delicate, fine lines. Three or more strands create bold, graphic borders with real presence on the fabric.
How do you overcome common feather stitch challenges?
Every embroiderer runs into the same handful of problems when learning feather stitch. Knowing what to expect makes them much easier to handle.
The most common issues and how to fix them:
- Puckering fabric. This happens when thread tension is too tight. Moderate tension keeps loops open and fabric smooth. Check tension after every few stitches until the habit becomes automatic.
- Uneven loop sizes. Without guide lines, loops drift in size and angle. Marking four parallel lines on your fabric before you start solves this almost immediately.
- Loops that twist or collapse. This usually means the needle is entering the fabric at the wrong angle. Keep your needle angled slightly downward and toward the center line on each stitch.
- Difficulty on curves. Shorten your loop length on curves and check your guide lines more frequently. Smaller loops give you more control around bends.
- Inconsistent spacing. Count fabric threads if you are working on evenweave, or use your guide lines as reference points on plain weave fabrics.
“Mastering feather stitch enhances embroidery skill by enabling fluid, organic botanical depictions that would otherwise require multiple stitch types and complex color work. The stitch builds fluency across the whole craft, not just in one technique.”
Learning to read your own tension is the real skill here. Once you can feel the difference between a loop that is too tight and one that sits correctly, your consistency improves across every stitch you know. Feather stitch teaches that lesson faster than most because the open structure makes tension mistakes immediately visible.
Key Takeaways
Feather stitch embroidery is the most versatile single-line stitch for organic, botanical, and border work in hand embroidery.
| Point | Details |
|---|---|
| Core definition | Feather stitch forms connected, alternating open loops along a center line, creating a fern-like pattern. |
| Guide lines are non-negotiable | Mark four parallel lines on fabric before stitching to keep loop size and spacing consistent. |
| Tension controls quality | Moderate thread tension preserves the open loop structure and prevents puckering. |
| Variations expand your options | Single feather stitch and double feather stitch each suit different projects and fabric types. |
| Organic projects are its strength | Vines, coral, seaweed, and quilt borders all benefit from feather stitch’s natural, flowing movement. |
Why feather stitch changed how I think about embroidery
I came to feather stitch late, after years of working mostly geometric stitches. My first reaction was that it looked too loose, too casual. I wanted clean lines and predictable results. Feather stitch felt like it had a mind of its own.
What changed my thinking was a botanical project where I needed to fill a large background with foliage. Every other stitch I tried felt stiff or took too long. Feather stitch covered the area in a fraction of the time and looked more natural than anything I had planned. That was the moment I understood what the stitch is actually for. It is not a precise stitch. It is an expressive one.
What I love most about teaching this stitch is watching beginners realize that their “imperfect” loops often look better than they expected. The slight irregularity in handmade feather stitch is part of its charm. It reads as organic because it genuinely is. No two stitchers produce identical feather stitch, and that is a feature, not a flaw.
If you are building your embroidery skills, I recommend learning feather stitch alongside stem stitch. The two complement each other beautifully in botanical work. Stem stitch gives you clean outlines; feather stitch fills the space between them with life and movement. Together, they cover most of what you need for naturalistic embroidery.
My honest advice: do not wait until your tension is perfect to use feather stitch on a real project. Use it now, on something you care about. The feedback from working on actual fabric teaches you faster than any practice sampler.
— Simone
Feather stitch patterns and resources at Simone Balman Art
Ready to put feather stitch to work in a real project? Simone Balman Art offers a growing collection of embroidery and cross stitch patterns designed to inspire stitchers at every level, from first-timers to experienced crafters looking for fresh ideas.
The collection includes botanical, ocean, and nature-themed designs that pair beautifully with feather stitch techniques. Free tools like the fabric size calculator help you plan your projects accurately before you cut a single piece of fabric. Every pattern comes with clear charts and full instructions, so you spend more time stitching and less time puzzling over the details.
FAQ
What is feather stitch embroidery in simple terms?
Feather stitch is a hand embroidery stitch made of connected, alternating loops that spread out from a center line, creating an open, airy pattern that resembles feathers or fern branches.
How is feather stitch different from chain stitch?
Chain stitch forms closed oval links in a single line, while feather stitch creates open V-shaped loops that alternate on both sides of a center line, giving it a branching, organic appearance.
Do I need special tools to learn feather stitch?
No special tools are required. An embroidery hoop, needle, thread, and fabric are all you need. A fabric marker to draw guide lines makes learning the stitch significantly easier.
What is the Single Feather Stitch?
The Single Feather Stitch places all loops on one side of the center line instead of alternating, producing a neat, slanted border effect similar to a blanket stitch.
Is feather stitch the same as fern stitch?
Feather stitch and fern stitch are used interchangeably in most embroidery references. Both describe the same decorative surface stitch with branching, alternating loops and identical underlying mechanics.


