

A tiled pattern stitch is defined as a repeating geometric motif technique that creates block-like textures across fabric to mimic mosaic or tile designs. You achieve this effect through knit-and-purl combinations, needlepoint mosaic stitches, or mosaic colorwork, depending on your craft. The “Roof Tiles” knitting pattern is one well-known example, using a 12-stitch repeat over 14 rows to build a clean, structured surface. Whether you stitch on canvas, fabric, or yarn, understanding tiled stitch patterns opens up a world of bold geometric texture with surprisingly manageable technique.
What is a tiled pattern stitch, and how does it work?
A tiled pattern stitch works by repeating a single base unit, called a motif, across an entire fabric surface so the finished piece looks like interlocking tiles or mosaic panels. The motif can be as simple as a rectangle of knit stitches surrounded by purl stitches, or as detailed as a geometric shape built from long and short needlepoint stitches. The key is that the unit tiles infinitely without visible seams, meaning each edge of the motif connects perfectly to the next.
This technique appears across multiple crafts. In knitting, you arrange knit and purl stitches in a set sequence. In needlepoint, you use groups of stitches at different lengths to build the tile shape. In crochet, you use slipped stitches to carry color across rows. Each method produces a different texture, but the underlying logic is the same: repeat a defined unit to fill the fabric.
How do knit-and-purl combinations create tiled patterns?
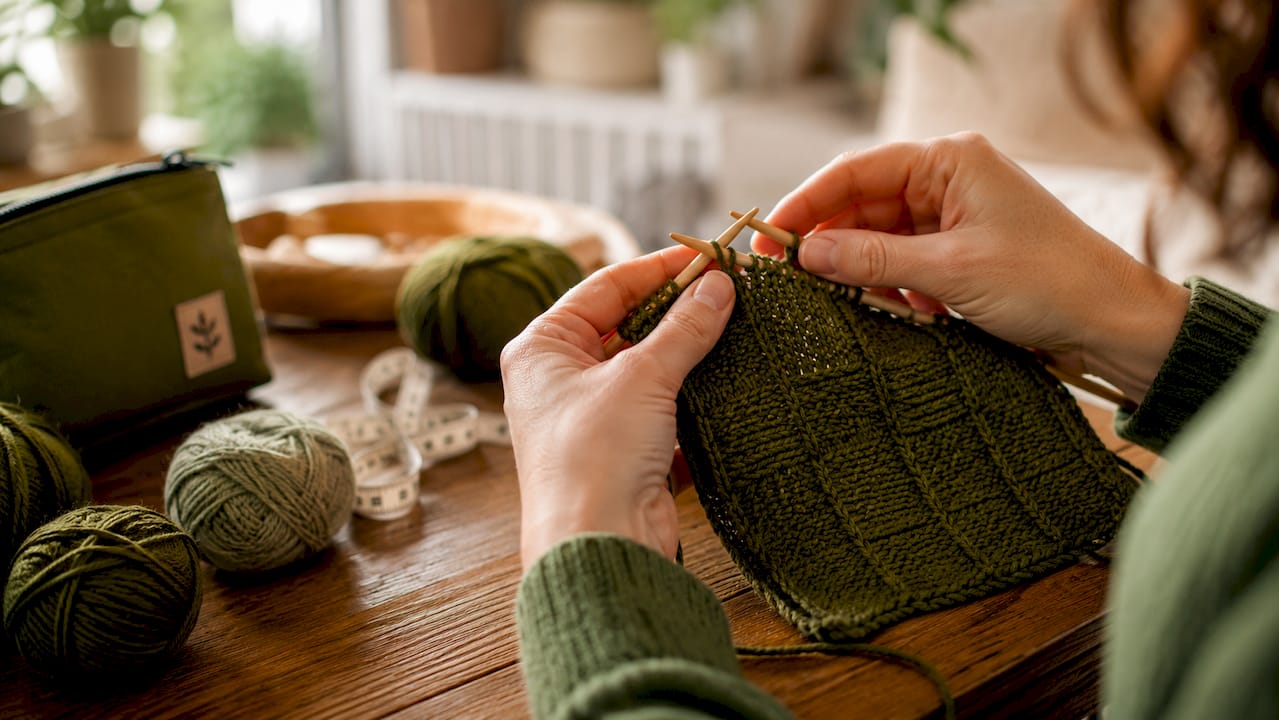
Knit-and-purl tiled stitch patterns work by assigning specific stitches to specific positions within a repeat. Knit stitches sit flat and smooth, while purl stitches pop forward. When you arrange them in blocks, the contrast between the two creates the illusion of raised tiles on the fabric surface.
The “Roof Tiles” pattern is a great beginner example. It uses a 12-stitch repeat that you can multiply to fit any project width. You simply cast on a number divisible by 12, then work the 14-row sequence repeatedly until you reach your desired length. Some traditional tiled patterns use multiples of 7 stitches plus edge stitches, so always check your specific pattern’s requirements before casting on.
Pro Tip: Before casting on for a large project, calculate your stitch count by multiplying the repeat number by how many tiles you want across, then add any edge stitches the pattern requires. This prevents awkward partial tiles at the edges.
One detail worth knowing: knit-and-purl tiled patterns are not technically reversible, but the wrong side often looks neat and textured. That makes them perfectly acceptable for scarves, blankets, or any project where both sides show.
| Pattern type | Stitch multiple | Row repeat | Best use |
|---|---|---|---|
| Roof Tiles | 12 stitches | 14 rows | Scarves, blankets |
| Classic brick tile | 7 stitches + edges | 8 rows | Dishcloths, panels |
| Checkerboard tile | 6 stitches | 6 rows | Baby items, washcloths |
| Diamond tile | 10 stitches | 12 rows | Sweater yokes, pillows |
What are mosaic and needlepoint tiled stitch techniques?
Mosaic and needlepoint methods approach tiled pattern sewing from a completely different angle than knitting, but both produce striking geometric results.
The needlepoint mosaic stitch uses groups of three stitches, typically two short stitches flanking one long stitch, to build a tile-like filling across canvas. This arrangement creates a subtle, woven texture that suits geometric and abstract designs beautifully. If you are new to needlepoint, the tent stitch is a good foundation to learn before moving into mosaic work, since the diagonal stitch direction is similar.
Mosaic crochet takes a different path. It works with one color at a time and uses slipped stitches to carry the secondary color across rows without actually working into it. This avoids the bulk of traditional colorwork, where you carry two strands simultaneously. The result is a flat, graphic tile effect that beginners find much more manageable than stranded colorwork.
Here are the key differences between the two methods:
- Needlepoint mosaic stitch: Uses long and short stitches on canvas; works best for wall art, pillows, and framed pieces.
- Mosaic crochet: Uses slipped stitches on yarn; works best for blankets, bags, and wearables.
- Knit-and-purl tiling: Uses texture contrast rather than color; works best for scarves, throws, and home textiles.
- Cross stitch tiling: Uses counted stitches on evenweave fabric; works best for framed art and decorative pieces like the Mediterranean Tiles pattern from Simone Balman Art.
Pro Tip: Before committing to a full mosaic or needlepoint tiled project, stitch a 3×3 tile preview on a scrap piece of fabric or canvas. This lets you check that the motif connects cleanly at every edge before you invest hours in the full piece.
How to select yarn and manage stitch tension for tiled patterns
Yarn choice directly determines how clearly your tiled motif reads on the finished fabric. Smooth, solid-colored yarns give you the sharpest stitch definition, which is exactly what geometric tiled patterns need. Cotton blends and merino wool both work well because their fibers lie flat and show stitch structure clearly.
Avoid these yarn types for tiled stitch patterns:
- ❌ Mohair and fuzzy fibers: The halo effect blurs the edges between tile units, making the geometric lines disappear.
- ❌ Variegated yarns: Color changes within a single yarn compete with the tile motif and visually break up the repeat. Read more about working with variegated floss to understand when it works and when it fights your design.
- ❌ Bulky, loosely spun yarns: These create uneven stitch sizes that distort the tile shape.
- ✅ Smooth DK or worsted weight: Ideal for knit-and-purl tiled patterns.
- ✅ Perle cotton or stranded cotton floss: Ideal for cross stitch and needlepoint tiled designs.
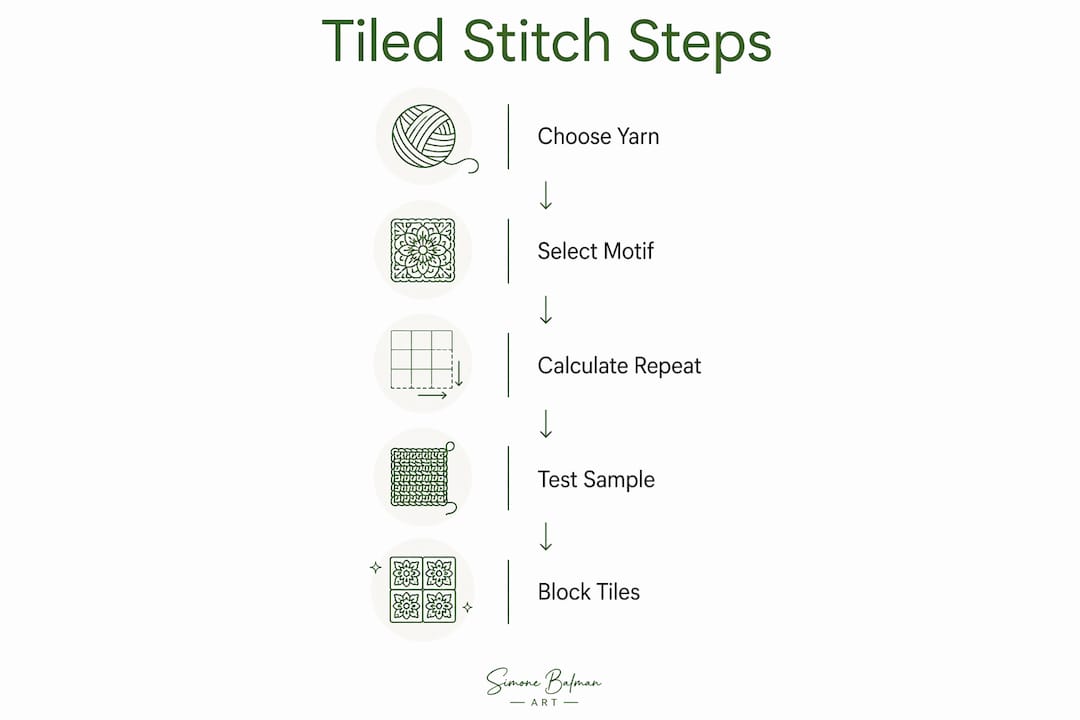
Tension consistency is the other half of the equation. Experienced stitchers block individual tiles and use stitch markers to track repeats, especially in color mosaic designs. Uneven tension causes the fabric to warp or grow unevenly, which makes the tile grid look crooked. If you notice your tension shifting, take a break and check your gauge against your swatch before continuing.
What are the key design rules for seamless repeating tiled patterns?
A professional-looking tiled design depends on one foundational rule: your base tile unit must connect perfectly on all four sides. If the edges do not align, the repeat breaks and the tile illusion collapses. This is true whether you are designing a knitting chart, a cross stitch pattern, or a crochet motif.
Testing a 3×3 tile repeat is the industry-standard method for catching problems before they become permanent. When you preview nine tiles together, you can see whether motifs centered inside a single tile collide awkwardly at the join points. A common fix is to add a “bridge” element that crosses the tile boundary, visually connecting adjacent units rather than leaving a gap or a clash.
Edges are typically joined with slip stitches through back loops in crochet and textile work, which creates an invisible seam. In chart-based crafts like cross stitch, you align the grid so the last column of one tile matches the first column of the next without any overlap or gap.
| Design rule | Why it matters |
|---|---|
| Define the smallest repeat unit | Ensures the pattern tiles infinitely without visible breaks |
| Test a 3×3 preview | Catches motif collisions and uneven density before full execution |
| Align all four edges precisely | Prevents visual gaps or overlaps where tiles meet |
| Add bridge elements at boundaries | Solves collision problems when centered motifs clash at joins |
| Block finished tiles | Locks stitch tension and keeps the tile grid straight |
Key takeaways
A tiled pattern stitch creates repeating geometric motifs across fabric by combining specific stitch types in a defined unit that connects seamlessly on all four sides.
| Point | Details |
|---|---|
| Core definition | A tiled pattern stitch repeats a geometric motif unit across fabric to mimic mosaic or tile designs. |
| Method variety | Knit-and-purl, needlepoint mosaic, mosaic crochet, and cross stitch all produce tiled effects through different techniques. |
| Yarn matters | Smooth, solid-colored yarns like cotton blends or merino wool give the clearest stitch definition for tiled patterns. |
| Test before committing | Always stitch a 3×3 tile preview to catch motif collisions or edge misalignments before starting the full project. |
| Tension is critical | Consistent stitch tension prevents warping; blocking individual tiles keeps the grid straight and even. |
Why tiled patterns are worth every stitch
I have designed and stitched a lot of geometric patterns over the years, and tiled stitches consistently surprise people with how much visual impact they deliver for the effort involved. The repeat structure means you learn the sequence once, then your hands take over. That rhythm is genuinely satisfying, especially on longer projects like blankets or large framed pieces.
What I find most interesting is how the same tiling logic shows up across completely different crafts. A needlepoint mosaic stitch and a mosaic crochet tile use almost identical principles, just different tools. Once you understand how a base unit tiles, you can apply that thinking to knitting charts, cross stitch grids, and needlepoint canvas without starting from scratch each time.
My honest advice for beginners: start with a knit-and-purl tile like the Roof Tiles pattern before moving into colorwork or needlepoint mosaics. The texture contrast is forgiving, the stitch count is manageable, and the result looks far more complex than it actually is. That confidence boost makes tackling the more technical methods much easier. If you love the look of tile-inspired designs in cross stitch, the Mediterranean Courtyard pattern is a wonderful place to see how tiled geometry translates onto evenweave fabric.
— Simone
Plan your next tiled stitch project with Simone Balman Art
Tiled stitch patterns reward careful planning, and having the right tools makes all the difference before you pick up your needle.
The free fabric size calculator at Simone Balman Art helps you work out exactly how much fabric you need for any tiled cross stitch project, so you never run short mid-stitch. If you love the geometric beauty of tile-inspired designs, the Mediterranean Tiles cross stitch pattern brings that classic mosaic look to evenweave fabric with a clear, well-charted design that suits stitchers at every level. Visit Simone Balman Art to browse the full collection of modern patterns and free stitching resources built to support your craft.
FAQ
What is a tiled pattern stitch in simple terms?
A tiled pattern stitch is a repeating geometric motif that covers fabric like interlocking tiles, created by arranging specific stitch types in a defined unit that connects seamlessly on all sides.
Can beginners learn tiled stitch patterns?
Yes. Knit-and-purl tiled patterns like the Roof Tiles stitch use a straightforward 12-stitch repeat that beginners can master quickly, making them an excellent starting point for understanding tiled stitches.
What yarn works best for tiled pattern stitching?
Smooth, solid-colored yarns like cotton blends or merino wool give the clearest stitch definition. Avoid fuzzy fibers like mohair and variegated yarns, which blur or visually break up the geometric tile lines.
How do I know if my tiled pattern will repeat seamlessly?
Stitch a 3×3 tile preview before starting the full project. This test reveals whether motifs collide at join points or leave unintended gaps, giving you the chance to adjust the design before committing to the full piece.
What is the difference between mosaic crochet and needlepoint mosaic tiling?
Mosaic crochet uses slipped stitches to carry color across yarn rows one color at a time, while needlepoint mosaic tiling uses groups of long and short stitches on canvas to build the tile shape through stitch length contrast rather than color.


