

Outlining in cross stitch is defined as the technique of adding stitched lines over completed cross stitches to sharpen shapes, separate colors, and render fine details that full crosses alone cannot achieve. The role of outlining in cross stitch design goes far beyond decoration. Backstitch, the standard method for outlining in embroidery, acts as the structural skeleton of any design, giving the eye clear edges to follow and transforming a flat grid of colored squares into a recognizable, polished image. Whether you stitch animals, florals, or lettering, understanding how and when to outline will change the quality of every project you complete.
How does outlining improve visual clarity in cross stitch?
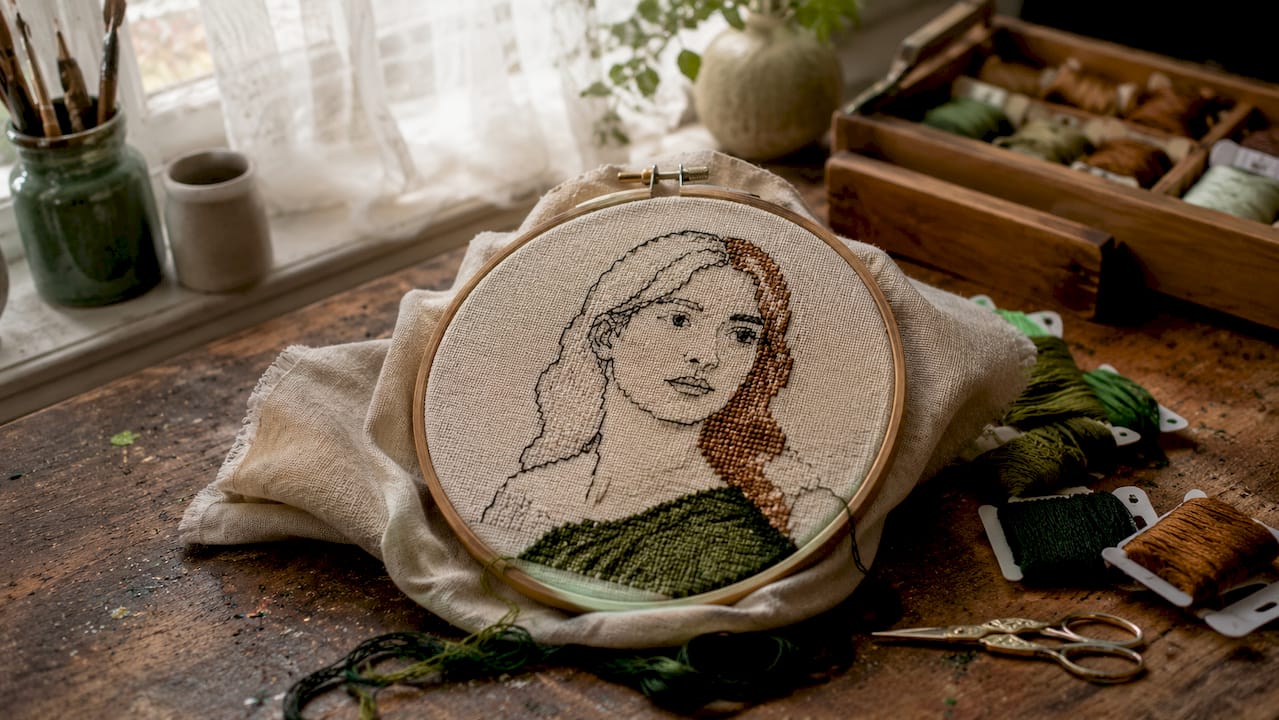
Backstitch outlines act as a critical structure that allows the eye to perceive complex images clearly by defining boundaries between colors and shapes. Without outlining, adjacent color areas tend to blur together, making figures look soft and undefined. Think of a stitched cat face: the cross stitches fill in the color, but the whiskers, eyes, and nose only become recognizable once backstitch lines are added over them.
The benefits of outlining in embroidery show up most clearly in three areas:
- Color separation: Two similar shades placed next to each other read as one mass without a contrasting outline between them.
- Fine detail: Backstitch adds vital detail to facial features, letters, and fine elements that cross stitches alone cannot render clearly.
- Depth and dimension: A well-placed outline creates the illusion of a foreground object sitting in front of a background, adding visual depth to an otherwise flat grid.
- Curves and organic shapes: Cross stitches are square by nature. Backstitch lines can travel diagonally across corners, creating smooth curves that soften the blocky grid.
Cross stitch design outlines are especially powerful in character-based or portrait designs. A simple flower pattern may look complete without outlining, but a stitched face or animal almost always needs it. The difference between a blurry shape and a clear image often comes down to a single strand of backstitch.
Pro Tip: Before you start stitching, check your pattern chart for backstitch symbols. If the chart marks outline lines, plan your thread colors for those lines at the same time you select your fill colors. Matching them early prevents last-minute color mismatches.
What are the best outlining techniques and materials?
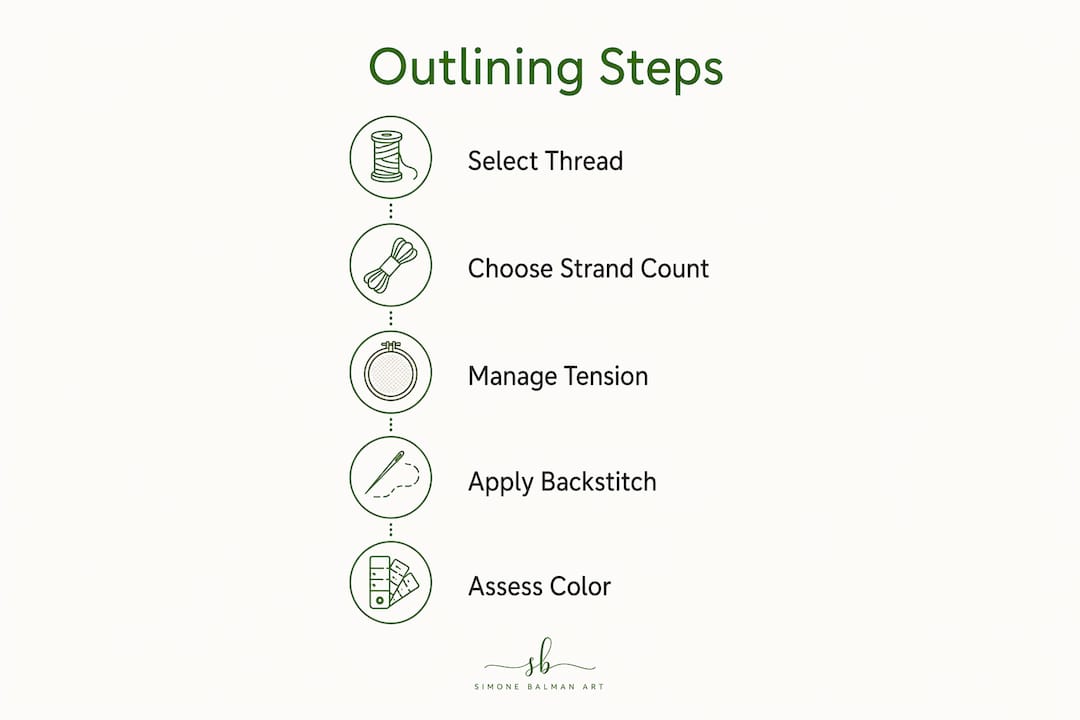
Backstitch is a continuous line stitch worked backward on top of finished cross stitches, creating a crisp outline and refining details. It is the universally recommended outlining stitch in cross stitch embroidery because it produces an unbroken line that sits cleanly above the fill stitches. Other stitches, like whipped backstitch or double running stitch, build on this foundation for decorative effects.
Choosing the right strand count
Thread strand count is one of the most important decisions in outlining. 1 strand of thread is recommended for backstitching on 14-count Aida fabric to maintain definition without overpowering the cross stitches, while 11-count typically requires 2 strands. Using too many strands on a fine-count fabric makes the outline look heavy and covers the fill stitches underneath.
| Fabric count | Recommended strands for backstitch |
|---|---|
| 18-count | 1 strand |
| 14-count | 1 strand |
| 11-count | 2 strands |
| 28-count evenweave (over 2) | 1 strand |
Managing line length and tension
Backstitch lines longer than 6–8 fabric squares should be broken into shorter segments to maintain thread tension and prevent snagging. Long unbroken lines tend to pull the fabric and create a puckered look over time. Segmenting your work also makes it easier to correct mistakes without unpicking a long run of stitches.
Selecting outline thread colors
Backstitch color choice impacts the visual effect significantly. A dark outline on a light design creates strong definition, while a tone-on-tone outline adds subtle shape without harsh contrast. Unusual or unexpected colors, like a deep teal outline on a warm orange fox, can add a whimsical quality to your finished piece. Matching your thread choices to the mood of the design gives you much more creative control than always defaulting to black.
Pro Tip: Test your outline color by holding the thread against your finished stitching before you commit. What looks right on the skein can read very differently against a field of cross stitches.
When should you add outlining during a cross stitch project?
Timing is one of the most overlooked aspects of how to outline in cross stitch. Backstitching is recommended as a finishing technique after completing surrounding cross stitches to avoid distortion from subsequent stitching. If you backstitch too early, the needle and thread from later fill stitches will snag on your outline lines and pull them out of position.
Two main approaches exist for sequencing your outlining work:
- Section by section: Experienced stitchers perform backstitching per section as they complete cross stitches in that area. This approach keeps your work tidy and makes it easier to handle fabric shifts as the project grows.
- All at the end: Some stitchers prefer to complete every fill stitch first, then add all outlining in one final pass. This works well for smaller projects but can feel tedious on large, complex designs.
The section-by-section method has a practical advantage beyond convenience. Working on a smaller area at a time means your thread travels shorter distances on the back of the fabric, which reduces the risk of long thread tails snagging on future stitches. It also gives you a finished section to admire as you go, which keeps motivation high on longer projects.
Whichever approach you choose, always complete the cross stitches immediately surrounding an outline area before you add the backstitch. Outlining over incomplete fill areas leads to gaps and misalignment once the remaining crosses are added.
What creative variations can outlining add to your designs?
Outlining is not a single technique with a single look. The way you apply it shapes the entire character of a finished piece. Some designs call for tight, precise outlines, while others benefit from loose, expressive lines that add energy and movement.
Here are the most useful creative applications of outlining in cross stitch:
- Whipped backstitch: Thread a second color through the loops of a completed backstitch line without piercing the fabric. This creates a twisted rope effect that adds texture and visual interest to borders and lettering.
- Double running stitch (Holbein stitch): Works the same path twice in opposite directions, producing a line identical on both sides of the fabric. This is ideal for reversible projects or counted thread designs with a traditional look.
- Highlight lines: A single backstitch line in a light color placed along the top edge of a shape mimics the look of reflected light, giving rounded objects like fruit or animals a three-dimensional quality.
- Borders and frames: The role of borders in cross stitch is to contain and organize the design. A backstitch border around the entire piece creates a clean edge and gives the work a finished, framed appearance even before it is mounted.
- Text and lettering: Individual cross stitch letters can look blocky. A backstitch outline around each letter sharpens the edges and makes text far more legible, especially at smaller sizes.
Not every design needs outlining. Bold geometric patterns and pixel art styles often look best without any backstitch, since the clean grid of cross stitches is the intended aesthetic. Knowing when to leave outlining out is just as valuable as knowing when to add it. Floral designs, for example, often use selective outlining on petals and stems while leaving background fills unoutlined, which draws the eye directly to the focal point.
Key Takeaways
Outlining through backstitch is the single most effective technique for adding definition, detail, and dimension to a cross stitch design, and its timing, strand count, and color choice each determine the final quality of the work.
| Point | Details |
|---|---|
| Backstitch is the standard outline stitch | It creates unbroken lines over fill stitches, defining shapes and fine details. |
| Strand count must match fabric count | Use 1 strand on 14-count Aida and 2 strands on 11-count for balanced definition. |
| Segment long lines at 6–8 squares | Breaking lines into short segments maintains tension and prevents fabric puckering. |
| Outline after surrounding fill stitches | Adding backstitch too early causes distortion when later cross stitches are placed. |
| Color choice shapes the design’s mood | Dark outlines create strong contrast; tone-on-tone or unusual colors add subtlety or whimsy. |
What I’ve learned from years of outlining my own designs
The most common mistake I see in outlining is rushing it. Stitchers spend hours on fill work and then race through the backstitch at the end, using whatever dark thread is nearby. That approach almost always flattens the design. The outline color deserves as much thought as any fill color in the piece.
I also want to push back on the idea that outlining is only for beginners who need help making their designs look “finished.” Some of the most expressive work I have done uses outlining as a design element in its own right, not just a cleanup step. A single backstitch line in an unexpected color can completely change the personality of a piece. I have outlined a rabbit in dusty blue instead of brown and the result felt like a completely different design, softer and more painterly.
For anyone just starting out with backstitch, I recommend practicing on a small sampler before tackling a full project. Stitch a row of crosses on scrap fabric, then add a backstitch outline using different strand counts and colors. You will see immediately how much the outline changes the feel of the stitching. That hands-on experience is worth more than any written guide.
The needle you use also matters more than most people realize. A tapestry needle with a blunt tip glides between the fabric threads cleanly, while a sharp needle can split the fill stitches underneath and create a messy look. Small details like this add up to a noticeably cleaner finish.
— Simone
Plan your next outlined project with Simone Balman Art
Getting your fabric size and pattern dimensions right before you start makes the outlining process much smoother. Simone Balman Art offers a free fabric size calculator and a pattern size calculator to help you plan every project accurately, so you know exactly how much fabric and thread you need before the first stitch goes in.
The pattern collection at Simone Balman Art includes designs where outlining plays a central role in the finished look, from detailed animal portraits like the Delft Rabbit to architectural scenes where backstitch defines every window and archway. Each pattern includes clear charts that mark backstitch lines separately from fill stitches, so you always know exactly where and how to outline. Browse the full collection at Simone Balman Art and find a design that gives your outlining skills a great project to grow with.
FAQ
What stitch is used for outlining in cross stitch?
Backstitch is the standard outlining stitch in cross stitch. It creates a continuous, unbroken line worked backward over completed fill stitches to define shapes and add detail.
When should you add backstitch outlines to a cross stitch project?
Add backstitch after completing the surrounding cross stitches in each area. Outlining too early causes distortion when later fill stitches are placed nearby.
How many strands should you use for backstitching?
Use 1 strand on 14-count Aida fabric and 2 strands on 11-count fabric. Using too many strands on fine-count fabric makes the outline look heavy and overpowers the fill stitches.
Do all cross stitch designs need outlining?
No. Bold geometric patterns and pixel art styles often look best without backstitch. Outlining is most valuable in designs with fine details, facial features, lettering, or closely matched adjacent colors.
What is the role of borders in cross stitch?
Backstitch borders frame the entire design, creating a clean edge that gives the finished piece a polished, contained appearance before it is mounted or framed.


