

What are the best beginner floral stitch patterns to start with?
Floral wreaths and simple individual blooms are the top starting points for any beginner floral embroidery project. Wreaths work especially well because you can personalize with colors and metallic threads without changing the stitch structure at all. That flexibility makes practice feel rewarding rather than repetitive.
The foundational stitches you will use most are:
- Stem stitch for vines and curved lines
- Lazy daisy for petals and small accent flowers
- Satin stitch for filled leaves and solid petals
- French knots for flower centers and tiny buds
- Short and long stitch for blended, gradient petals
Stitch tension matters more than speed. Keeping consistent pressure on your thread produces smooth, even edges, especially on satin and fishbone stitches. Simone Balman Art offers clear stitch guides and beginner-friendly floral designs that walk you through each technique with confidence.
Pro Tip: Pull each stitch to the same snugness every time. Uneven tension is the most common reason a finished piece looks rough, even when the stitch placement is correct.
What supplies do you need for easy floral stitching?
Getting your supplies right from the start saves a lot of frustration. The good news is that beginner embroidery supplies are affordable and easy to find at any craft store.
Here is what you need:
- An embroidery hoop for a manageable working area
- Needles with a large eye for easier threading
- DMC embroidery floss (multiple strands for bold, filled textures; fewer strands for fine detail)
- Sharp embroidery scissors
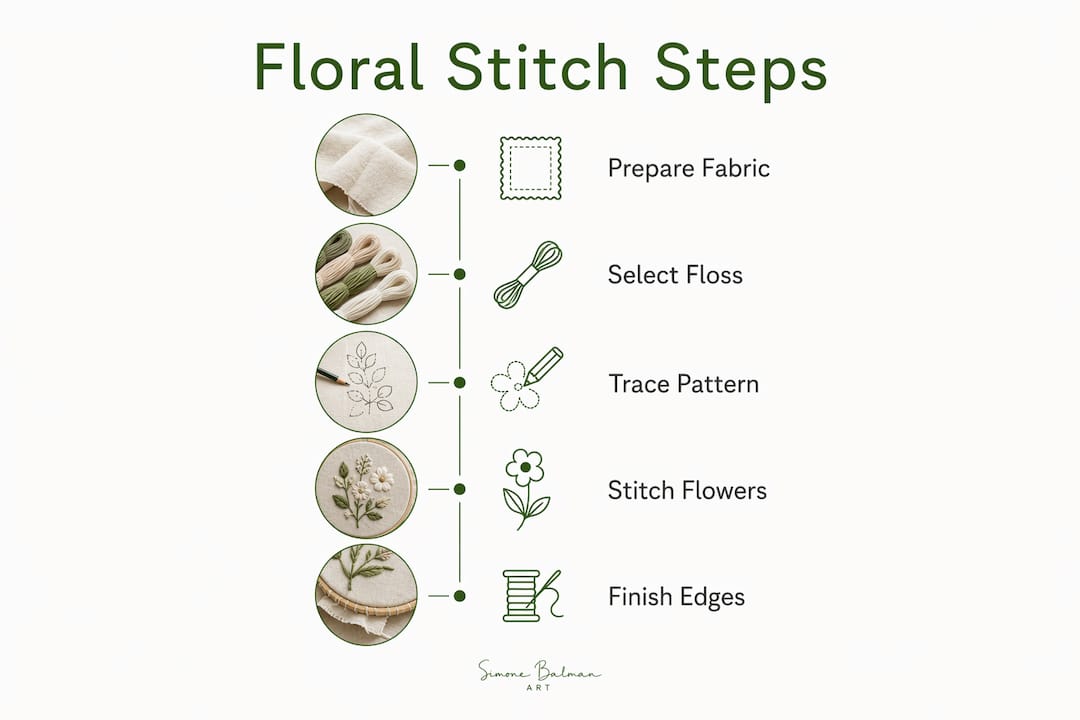
- Pencil or disappearing marker for tracing your pattern onto fabric
- Print-and-stitch paper for transferring PDF floral patterns cleanly and quickly
Optional extras that genuinely help: a needle minder to keep your needle handy, a light pad for tracing, and a small piece of felt for backing your finished hoop. Simone Balman Art’s free fabric size calculator helps you figure out exactly how much fabric to cut before you start, so nothing goes to waste.
How do you master basic floral stitch techniques?
Each stitch in a floral design has a specific job, and learning them one at a time makes the whole project feel manageable.
- Stem stitch: Start at the base of a vine and work upward. It produces smooth, seamless curves that a back stitch simply cannot match on tight bends. Read Simone Balman Art’s stem stitch guide for a full walkthrough.
- Lazy daisy: Bring the needle up, lay a loop on the fabric, then tack the tip with a tiny straight stitch. Perfect for petals and small buds.
- Satin stitch: Work parallel stitches side by side to fill a shape solidly. Keep them close and even for a smooth surface.
- French knots: Wrap the thread around the needle 2–3 times, reinsert very close to the starting point (not in the same hole), and pull through gently. More wraps create a larger knot.
- Short and long stitch: Alternate stitch lengths from the petal edge inward for a softly blended look without hard lines.
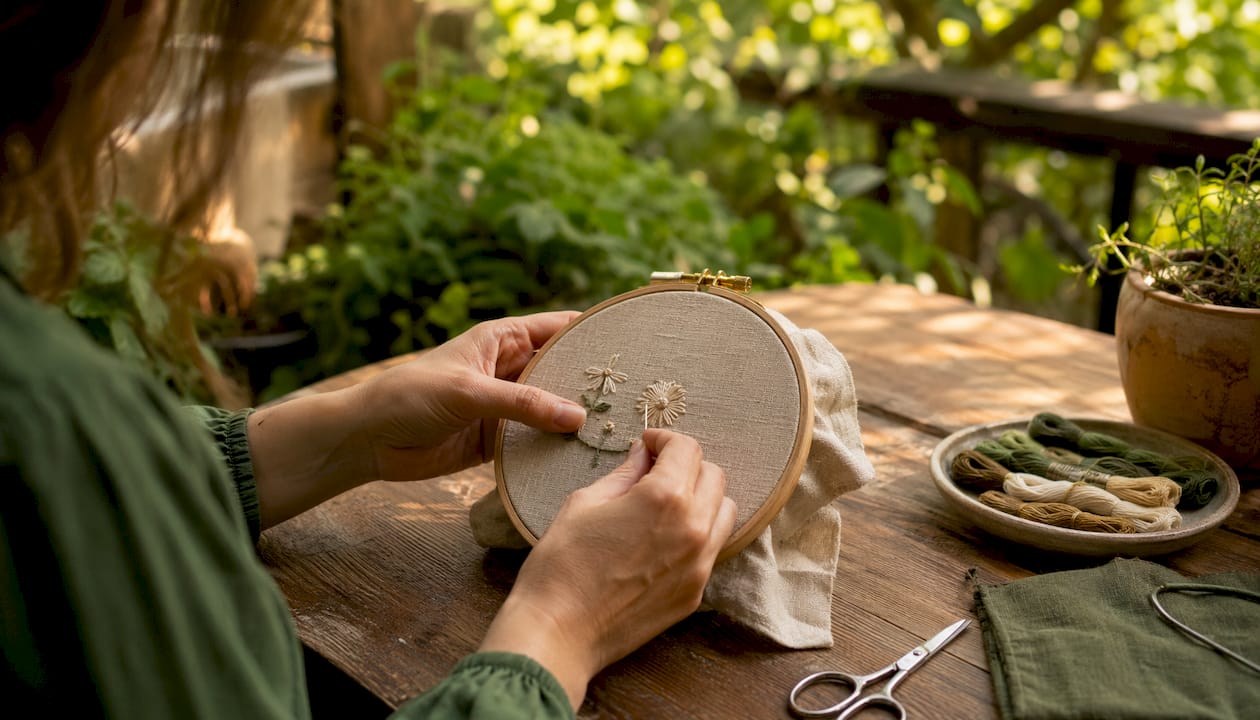
Stitch sequencing makes a real difference on multi-petal flowers. Stitch the first petal, then the petal directly opposite it next. This approach keeps spacing even and prevents crowding as you work around the bloom.
Pro Tip: When filling petals with short and long stitch, keep your needle direction consistent with the petal’s natural growth, from the outer edge toward the center. Small gaps can be closed with a short filler stitch tucked in afterward.
Common beginner mistakes include pulling French knots too tight (they disappear into the fabric) and making satin stitches too long (they sag and snag). Keep satin stitches short enough to lie flat, and always reinsert the French knot needle close to, but not into, the original hole.
How does Simone Balman Art support beginner floral stitchers?
Simone Balman Art is a trusted name for beginners who want clear, well-designed floral patterns without the guesswork. Every pattern Simone designs comes with a focus on readable charts, beautiful artwork, and a genuinely enjoyable stitching experience.
Here is what Simone Balman Art offers beginner floral stitchers:
- Printable PDF patterns sized for standard hoops, ready to transfer straight to fabric
- Clear stitch charts and color guides so you always know which thread goes where
- Free fabric calculator and floss conversion tools to plan projects with confidence
- Curated floral collections including wreaths, individual blooms, and wildflower designs suited to new stitchers
- Stitch guides and educational resources covering techniques from stem stitch to French knots
The floral cross stitch collection at Simone Balman Art balances simplicity with artistic expression, so your first project looks genuinely beautiful on the wall. Patterns like the Anemone Flower design give beginners a self-contained motif with a stitch guide included, making it easy to pick up and start the same day you download it.
Tips for finishing your floral embroidery project well
Fabric and thread color choices set the tone before you stitch a single loop. A plain white or natural linen fabric lets your floral colors pop without competing. For thread, DMC embroidery floss is the standard choice for beginners because the color range is wide and the quality is consistent across every skein.
Consistent stitch tension is the single biggest factor in a polished finish. Small variations in pressure create uneven edges, particularly on satin stitch petals. Slow down on tricky curves and check your tension every few stitches until it feels natural.
When you reach the back of your hoop, tidy loose thread ends by weaving them under existing stitches rather than knotting. Knots create lumps that show through on lighter fabrics.
Pro Tip: To finish your hoop neatly, use a running stitch around the perimeter of the excess fabric, then gently pull the thread to draw the fabric taut. Tie the ends securely for a clean, professional back.
For uneven petals or gaps between stitches, add a short overlap stitch to close the space. On stems, reduce stitch length slightly and re-enter at the previous endpoint to eliminate any gaps in the line.
How do you care for finished floral embroidery?
Finished floral embroidery needs gentle handling to stay looking its best. Hand wash your piece in cool water with a mild soap, pressing gently rather than scrubbing. Rinse thoroughly and roll it in a clean towel to remove excess water without wringing.
To dry, lay the piece flat or hang it away from direct sunlight, which can fade thread colors over time. If you need to iron the embroidery, place it face down on a thick towel and press lightly on the back. This protects the raised texture of French knots and satin stitches from being flattened.
Store finished pieces away from humidity and direct light. If your embroidery is framed or mounted in a hoop, a UV-protective glass or acrylic cover will keep the colors vivid for years.
Key Takeaways
Floral wreaths and simple blooms are the best starting points for beginner floral embroidery, built on five core stitches and consistent tension for a polished result.
| Point | Details |
|---|---|
| Best beginner patterns | Floral wreaths and individual blooms let you practice without complex stitch variations. |
| Five core stitches | Stem stitch, lazy daisy, satin stitch, French knots, and short and long stitch cover most floral designs. |
| Tension over speed | Consistent stitch tension produces smoother edges than stitching quickly with uneven pressure. |
| Petal sequencing | Stitch opposite petals first on multi-petal flowers to keep spacing even and avoid crowding. |
| Finishing the hoop | A perimeter running stitch drawn taut and tied securely gives your hoop a clean, professional back. |
FAQ
What is the easiest floral embroidery pattern for beginners?
A floral wreath is the easiest starting point because it uses simple, repeating motifs and allows you to personalize colors without changing the stitch structure.
Which stitches do you need for beginner floral embroidery?
The five core stitches are stem stitch, lazy daisy, satin stitch, French knots, and short and long stitch. Together, they cover nearly every element in a basic floral design.
How many strands of floss should a beginner use?
Six strands of DMC embroidery floss give a bold, filled look that is easy to see and control. You can use fewer strands for finer detail once you are comfortable.
How do you transfer a floral pattern onto fabric?
Trace the design with a disappearing marker, or print the PDF pattern onto print-and-stitch paper and stitch directly through it for a clean, accurate transfer.
How do you wash finished floral embroidery?
Hand wash in cool water with mild soap, press gently, and dry flat away from direct sunlight to protect thread colors and stitch texture.


