

Switching colors in cross stitch efficiently is the single biggest factor separating a frustrating stitching session from a satisfying one. The technique, known in stitching circles as color management or thread switching, controls how smoothly you move between floss colors without losing your place, tangling threads, or wasting time re-threading needles. When you combine organized thread management, the Danish Method, and a well-planned color palette, you cut wasted motion and keep your rhythm going. This guide covers the tools, preparation steps, and stitching methods that make every color change feel effortless.
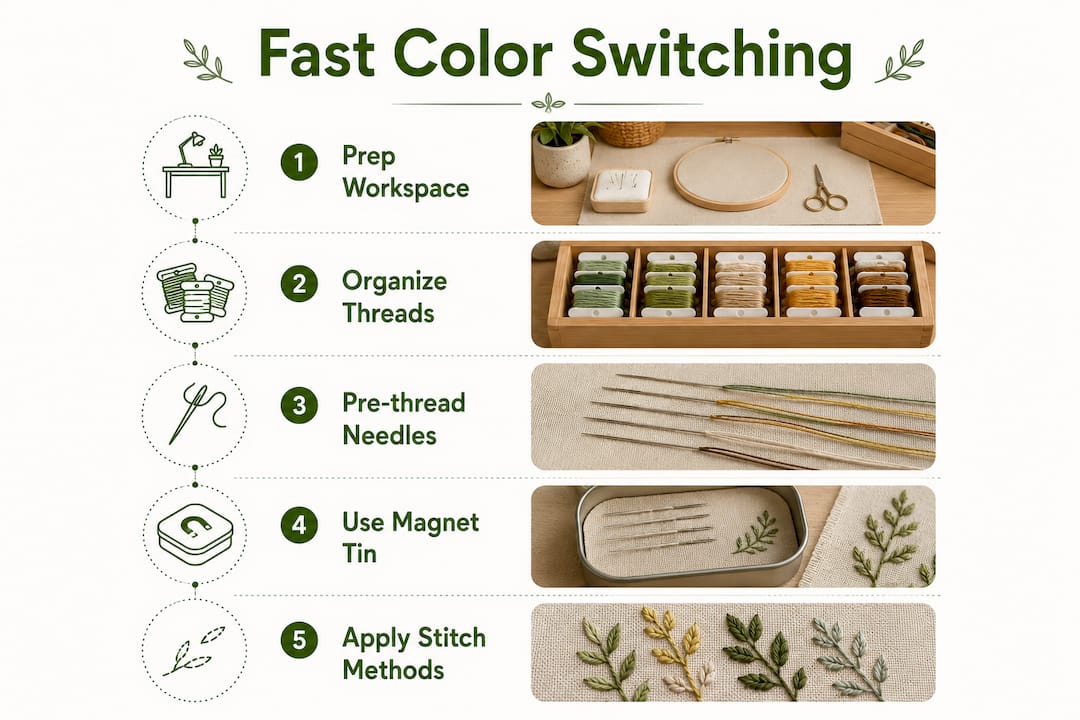
What tools help you switch colors cross stitch efficiently?
The right tools make color changes fast and nearly automatic. Without them, every switch costs you time and breaks your focus.
Here are the core tools every stitcher benefits from having on hand:
- Labeled thread organizers: Plastic bobbins or cardboard cards wound with floss and labeled with DMC or Anchor color numbers keep threads sorted and tangle-free.
- Multiple pre-threaded needles: Threading several needles in advance, one per color, means you simply pick up the next needle instead of stopping to thread.
- Magnet tins or needle minders: Labeled magnets on tins hold pre-threaded needles in place, letting you switch instantly between threads. This is especially useful for dense borders or scattered color areas.
- A well-lit stitching station: Good lighting reduces eye strain and helps you read chart symbols accurately, so you pick the right color the first time.
- A project bag or tray: Keeping all active colors in one spot prevents hunting around your workspace mid-stitch.
The table below compares these tools by their primary benefit and best use case:
| Tool | Primary Benefit | Best Use Case |
|---|---|---|
| Labeled bobbins | Prevents color confusion | Projects with 10+ colors |
| Pre-threaded needles | Eliminates re-threading delay | Frequent color changes |
| Magnet tin | Instant needle access | Dense or scattered color areas |
| Bright task lamp | Reduces misread symbols | Low-light stitching sessions |
| Project tray | Keeps active colors together | Multi-color sessions |
Pro Tip: Set up your magnet tin before you start stitching, not mid-session. Load it with every color you plan to use that day so you never have to stop and thread a needle while your momentum is high.
How to prepare your threads and workspace before stitching
Preparation is the step most stitchers skip, and it costs them the most time. Spending five minutes sorting and labeling threads before you start can save up to 20 minutes hunting for colors mid-project. That trade-off is always worth it.
Follow these steps to set up your workspace for smooth color changes:
- Sort your threads by color family. Group warm tones together, cool tones together, and neutrals separately. This makes it easy to grab the right bobbin at a glance.
- Label every bobbin with its color number. Write the DMC or Anchor number clearly. Never rely on memory or visual guessing, especially under artificial light.
- Cut threads to a working length of 18 inches. Longer threads tangle and fray. Shorter threads run out too fast. Eighteen inches is the sweet spot for most stitchers.
- Thread your needles in advance. Load one needle per color you plan to use in the session. Park unused needles in your magnet tin.
- Place your chart at eye level. Prop it up or use a chart holder so you can read it without bending over. This reduces errors and speeds up symbol recognition.
A few additional habits keep your workspace running smoothly:
- Keep a small pair of scissors clipped to your project bag so they are always within reach.
- Use a highlighter or sticky note to mark your current chart position.
- Store completed bobbins separately from active ones to avoid grabbing a finished color by mistake.
Choosing the right palette size also matters. 10–20 colors are usually sufficient for most beautiful patterns. Managing more than 30 colors exponentially increases thread changes, which slows you down and adds confusion. A simplified palette is more stitchable and visually cohesive than one packed with near-duplicate shades.
Step-by-step methods for fast color changes during stitching
Efficient color switching during stitching comes down to two things: technique and logic. The right stitching method reduces how often you need to switch at all, and smart section planning keeps each switch purposeful.
The Danish Method
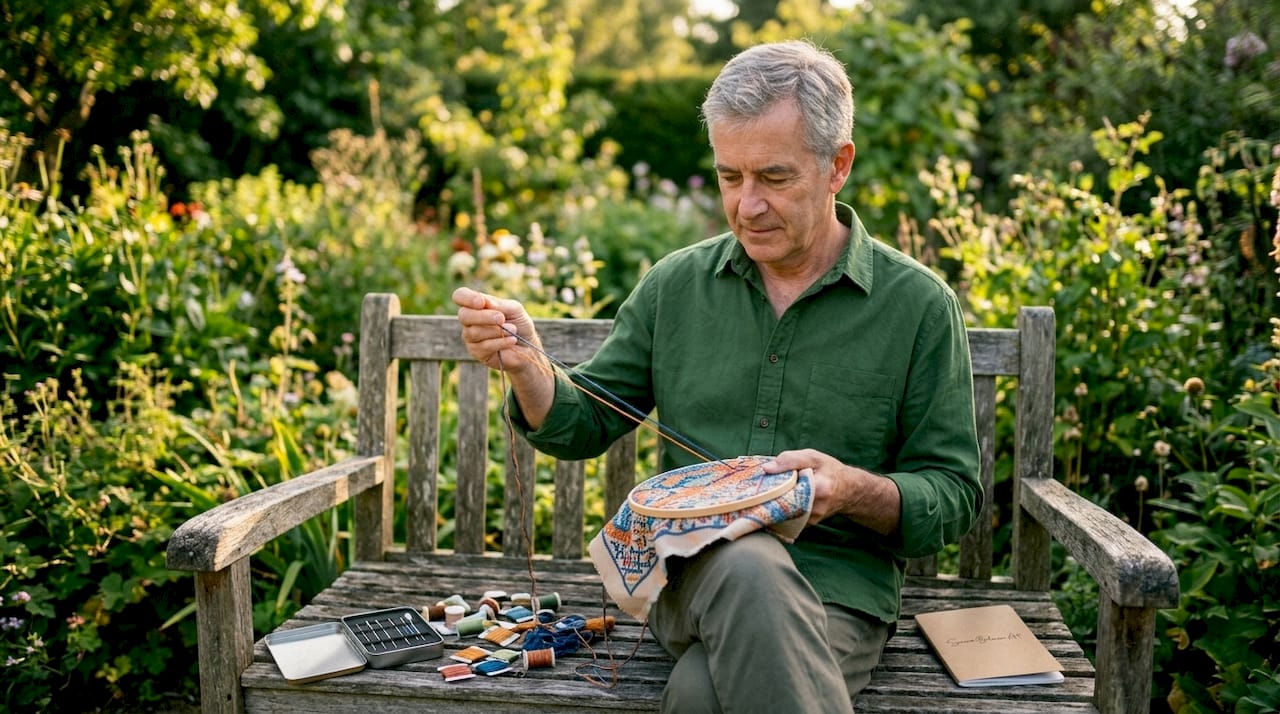
The Danish Method involves stitching entire rows in one direction first, then completing the crosses on the return pass. This structured approach reduces starts and stops, cuts thread wastage, and builds a satisfying rhythm. You spend less time anchoring and finishing threads because you complete more stitches per pass.
Cross-country stitching vs. color blocking
Cross-country stitching means following one color across the entire canvas before switching. Color blocking means completing one defined section before moving to the next. For projects with many scattered colors, color blocking wins. Breaking large patterns into smaller sections maintains accuracy and speed, reducing the risk of losing your place.
Here is a step-by-step approach for efficient color changes mid-project:
- Finish the current color’s section completely before switching. Avoid leaving partial areas, as they are easy to miscount when you return.
- Anchor your thread neatly on the back. Run the tail under four or five existing stitches rather than knotting. Knots create lumps and can pull through the fabric.
- Pick up your pre-threaded needle from the magnet tin for the next color. No re-threading needed.
- Start the new color from the nearest anchor point on the back of the fabric to minimize thread travel on the reverse side.
- Complete the new color’s section using the same Danish Method pass structure before switching again.
For color blending in cross stitch, thread one strand of each of two colors through the same needle. This creates optical mixing, where the two colors visually merge into a single intermediate shade at normal viewing distance. Blending adds visual complexity and subtle texture that solid colors cannot achieve alone.
Pro Tip: When blending, always stitch in the same top leg direction across the entire blended area. Inconsistent top leg direction creates a patchy, uneven look that stands out clearly in finished work.
Keep these habits in mind during every stitching session:
- Work in good light to catch color errors before they spread across a section.
- Use a needle minder on your fabric to park the current needle when you step away.
- Check your chart every 10–15 stitches to catch placement errors early.
What are the most common color-switching problems and how do you fix them?
Even experienced stitchers run into color-switching problems. Knowing what to watch for keeps your project on track.
- Thread tangling: Long thread lengths and too many active needles cause tangles. Keep threads at 18 inches and limit active needles to the colors you need for the current session only.
- Messy backs: Carrying thread too far across the back creates a web of loose strands. Finish and anchor each color before moving more than a few stitches away.
- Color confusion: Near-duplicate shades look identical under dim light. Label every bobbin and check the color number against your chart before stitching, not after.
- Inconsistent blends: Keeping the top leg direction consistent across blended areas prevents visible inconsistency in finished work. Pick one direction and never deviate within a blended section.
- Palette overload: Using too many colors creates constant switching and a confetti-like result. Experts recommend blending only within two or three value steps to achieve smooth optical mixing without a dithered appearance.
“Organized preparation and using the Danish Method can transform a multi-week stitching project into a shorter, more enjoyable process. The difference is not talent. It is setup.” — The Art of Cross Stitch
Losing momentum is the hidden cost of poor color management. Every time you stop to hunt for a thread, re-thread a needle, or untangle a knot, you break your focus and slow your pace. Small, consistent habits prevent these interruptions before they start. Working with variegated floss adds another layer of color management to consider, since the color shifts within a single thread require their own planning approach.
Key Takeaways
Efficient color switching in cross stitch depends on organized preparation, the right tools, and structured stitching methods like the Danish Method applied consistently across every session.
| Point | Details |
|---|---|
| Use pre-threaded needles | Load one needle per color before stitching to eliminate re-threading delays. |
| Limit your palette | Keep colors to 10–20 shades to reduce unnecessary thread changes and confusion. |
| Apply the Danish Method | Stitch rows in passes to cut starts, stops, and thread wastage significantly. |
| Prepare your workspace first | Sort, label, and cut threads before you start to save up to 20 minutes per session. |
| Keep top leg direction consistent | Uniform stitch direction prevents patchy blends and uneven finished work. |
What I’ve learned from years of managing color changes
Color switching used to be the part of stitching I dreaded most. I would sit down with a beautiful pattern, get three colors in, and then spend the next 10 minutes untangling threads and squinting at near-identical shades. The fix was not a new technique. It was a new mindset about preparation.
The biggest shift for me was accepting that setup time is stitching time. Threading six needles before I start feels like a delay, but it buys me an uninterrupted hour of actual stitching. That trade is always worth it. I also stopped trying to use every color in a pattern’s suggested palette. A simplified palette with well-chosen blends produces work that looks richer, not simpler.
One thing I wish someone had told me earlier: the back of your work tells you everything about your color management habits. A tidy back with short, anchored tails means your switching is clean. A messy back with long floats means you are carrying threads too far and creating future problems. Check your cross stitch finishing techniques regularly. The back of the hoop does not lie.
My honest advice is to start with the magnet tin and pre-threaded needles on your very next project. You will feel the difference within the first 20 minutes. After that, the Danish Method becomes the natural next step. These two changes alone will make your stitching faster, neater, and a lot more enjoyable.
— Simone
Simone Balman Art tools to support your stitching workflow
Planning your project well before the first stitch goes in makes every color change easier to manage.
The free fabric size calculator at Simone Balman Art helps you match your fabric dimensions to your pattern before you cut a single thread. Getting the sizing right from the start means fewer mid-project adjustments and a cleaner workflow overall. The site also offers a growing collection of modern cross stitch patterns designed with clear, readable charts that make color tracking straightforward, even on complex multi-color designs. Every pattern from Simone Balman Art is built with the stitcher’s experience in mind, so you spend more time enjoying the craft and less time decoding your chart.
FAQ
What is the fastest way to switch colors in cross stitch?
The fastest method uses pre-threaded needles stored on a magnet tin, one needle per color. You simply set down one needle and pick up the next, with no re-threading required.
How many colors should a cross stitch palette have?
10–20 colors are sufficient for most patterns. Using more than 30 colors exponentially increases thread changes and slows your stitching pace.
What is the Danish Method in cross stitch?
The Danish Method involves stitching all half-crosses in one direction across a row, then completing the crosses on the return pass. This reduces thread starts and stops and builds a faster, more consistent rhythm.
How do you blend threads without a patchy result?
Thread one strand of each color through the same needle and stitch the entire blended area in the same top leg direction. Consistent direction prevents visible inconsistency in the finished blend.
How do you avoid thread tangling during color changes?
Keep thread lengths to around 18 inches and limit active needles to only the colors needed for the current session. Longer threads and too many open needles are the two main causes of tangles.


