

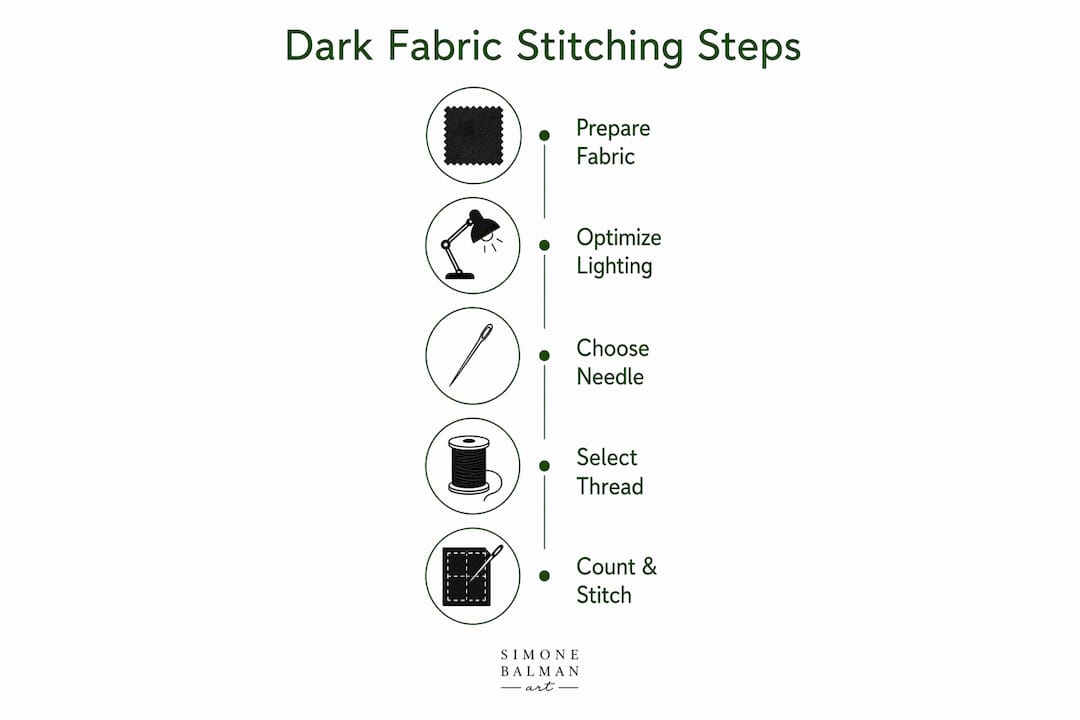
Stitching clean, readable crosses on black or dark fabric comes down to four things: bright daylight lighting, a white backing behind your cloth, a gridded fabric before your first stitch, and regular eye breaks. Get those four right and dark-fabric projects shift from frustrating to genuinely enjoyable.
Your quick-start checklist:
- Set up a daylight LED lamp (5,000 K or higher) aimed directly at your work
- Slip a white cloth or tracing pad behind the fabric to make holes visible
- Grid the fabric with a contrasting basting thread or washable marker before stitching
- Choose high-contrast thread colors with at least two value steps above the background
- Keep a magnifier within reach for counting complex areas
- ⏱️ Follow the 20–20–20 rule: every 20 minutes, look 20 feet away for 20 seconds
Pro Tip: Lay a sheet of white printer paper flat on your lap under the hoop. It costs nothing and immediately makes the weave holes pop.
Table of Contents
- What lighting and tools help you see holes on dark fabric?
- How do you prepare dark fabric before you start stitching?
- Which needles and thread choices work best on dark backgrounds?
- How do you choose colors and count accurately on dark fabric?
- How can you protect your eyes during dark-fabric sessions?
- Quick fixes for common dark-fabric problems
- Key Takeaways
- The payoff is worth every extra step
- Simone Balman Art patterns designed for confident stitching
- Useful sources
- FAQ
What lighting and tools help you see holes on dark fabric?
Good lighting is the single biggest upgrade you can make. Daylight-balanced light at 5,000 K or above produces a cool, neutral tone that makes both the weave holes and your thread colors read clearly. A warm, yellow bulb flattens everything and makes dark fabric look like a solid shadow.
Backlighting is the second layer. A tracing pad under your fabric shines light through the weave so holes become visible from above, and it doubles as a white visual reference. Holding the fabric up to a window works the same way in a pinch.
| Tool | Best for | Notes |
|---|---|---|
| Daylight LED desk lamp | Primary overhead lighting | Aim for 5,000 K+ bulbs |
| Tracing pad / light pad | Backlighting and hole visibility | Compact; works under a hoop |
| White cloth or paper | Budget backlighting on your lap | Free; replace when soiled |
| Head magnifier | Hands-free counting accuracy | Frees both hands for stitching |
| Stand magnifier with light | Stationary work sessions | Good for detailed areas |
| Hoop, Q-snap, or frame | Fabric tension | Taut fabric opens holes and prevents needle-splitting |
Start with the lamp and a white backing. Add a magnifier only if you find yourself squinting after the first session.
Pro Tip: Position your lamp slightly to the side rather than directly above. That angle creates a subtle shadow around each hole, making them easier to spot.
How do you prepare dark fabric before you start stitching?
Preparation is where most dark-fabric mistakes are prevented. Follow these steps before your first stitch:
- Mount your fabric. Secure it in a hoop, Q-snap, or scroll frame so the weave is evenly taut. Loose fabric lets holes close up and makes counting unreliable. Check out the cross stitch framing options guide if you need help choosing.
- Grid the fabric. Gridding reduces miscounts significantly on dark cloth. Use a contrasting basting thread (white or bright yellow) in a running stitch every 10 holes, both horizontally and vertically. Alternatively, a water-soluble marker works on some dark fabrics — test a corner first.
- Mark your center point. Find the center of the fabric and mark it with a small stitch or a dressmaker’s chalk pencil. This anchors your chart alignment.
- Transfer the pattern if needed. For detailed designs, tape your pattern and fabric over a light pad or window. Trace key outlines with a white gel pen (Gelly Roll is a popular choice) or a dressmaker’s white pencil. Water-soluble marks wash out cleanly after stitching.
- Verify before stitching. Double-check that your grid aligns with the chart’s center and that any transfer marks are accurate. A 30-second check here saves 30 minutes of unpicking later.
Pro Tip: Bright yellow or lime green basting thread is easier to spot against black fabric than white — and it’s just as easy to remove when you’re done.
Which needles and thread choices work best on dark backgrounds?
Needle choice matters more on dark fabric than on light. A slightly larger tapestry needle (size 24 for 14-count Aida, for example) has a more open eye and a blunter tip that slides into holes rather than splitting threads. If you’re struggling to find holes, try going one size up. The correct needle guide at Simone Balman Art walks through sizing by fabric count.
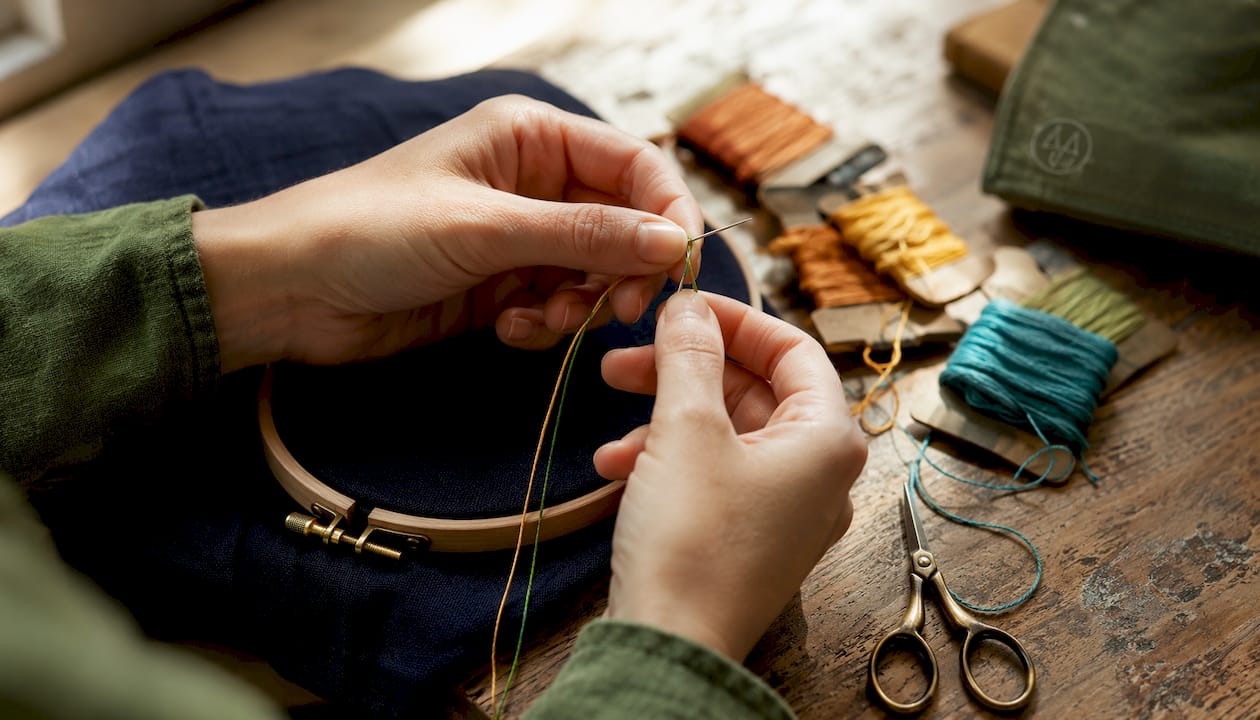
Thread handling needs a little extra attention too. Dark backgrounds often show through when coverage is thin, so consider adding an extra strand in areas where the fabric peeks between stitches. Two strands on 14-count is standard; three strands can help on very dark cloth when colors look washed out.
| Situation | Recommendation |
|---|---|
| Standard 14-count dark Aida | Size 24 tapestry needle, 2 strands |
| Fine dark fabric | Medium needle size, 1–2 strands |
| Coverage looks thin or patchy | Add a third strand; re-stitch the area |
| Backstitch on dark background | 1 strand, high-contrast color |
| Tension feels tight or puckering | Loosen your pull; re-tension the hoop |
For the stitch itself, complete each cross fully before moving to the next (rather than doing rows of half-stitches across a large area). On dark fabric, partial rows are harder to count back to. Working in small blocks of 5×5 or 10×10 stitches keeps your place clear. The “stitch-and-flip” method — placing the first leg of every cross, then returning to complete them — works well for filling backgrounds but requires careful counting on dark cloth.
Pro Tip: Thread your needle under good light, not over the dark fabric. Trying to thread against a black background is unnecessarily hard on your eyes.
How do you choose colors and count accurately on dark fabric?
Value contrast is the principle that determines whether your design reads clearly or disappears into the background. Aim for at least two steps of value difference between your thread color and the dark fabric. A medium navy thread on black Aida will barely show; a bright sky blue or white will pop immediately.
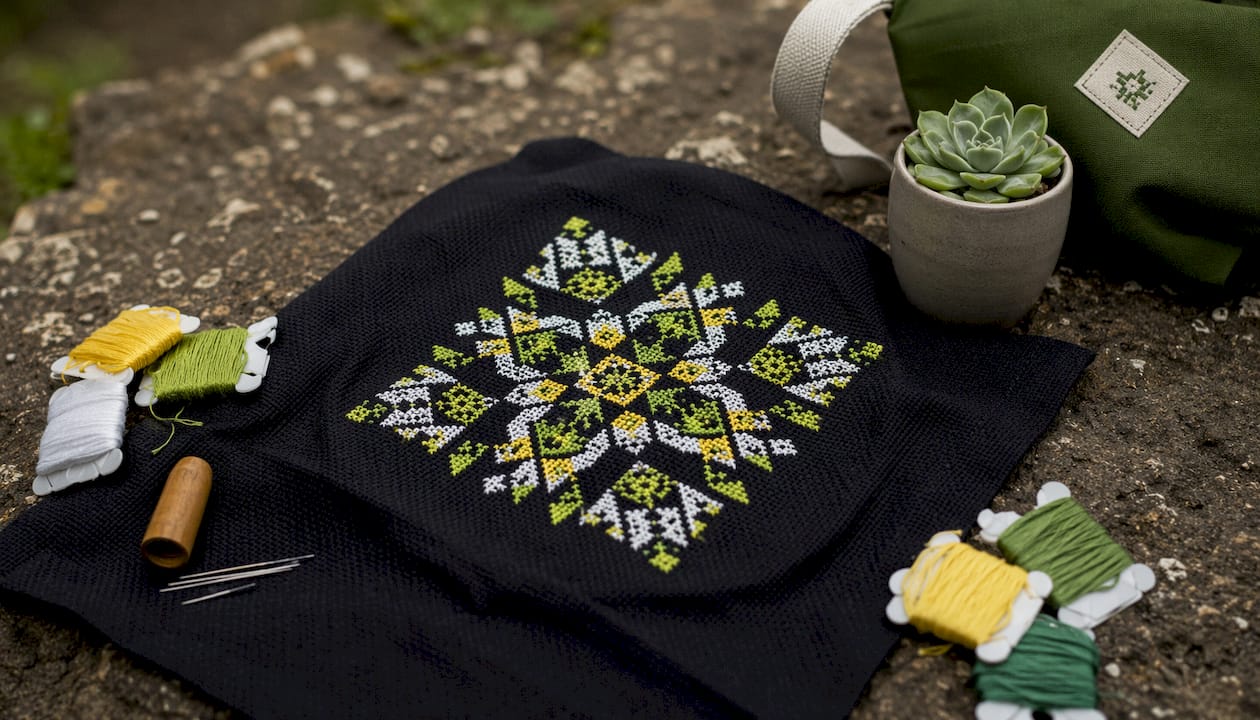
Stitching high-contrast areas first gives you visual anchors that make subsequent counting much easier. Once a bright motif is in place, you can count outward from it rather than from the grid alone. This is especially useful for designs with a central focal point like a flower, animal, or geometric shape.
For counting, work in small sections and check against the chart frequently. If an area feels uncertain, place a temporary high-contrast thread marker at the edge of your last confirmed stitch before taking a break. When you return, you’ll know exactly where you left off.
- Pick threads with strong value contrast (light, bright, or warm tones against dark backgrounds)
- Stitch the lightest or most defined shapes first to create counting anchors
- Check your count every 5–10 stitches in complex areas
- Use your grid lines as checkpoints, not just starting references
- When switching colors, finish each color block completely before moving on
Pro Tip: Hold your thread against the dark fabric in natural light before committing. Colors that look distinct under artificial light can blend together outdoors.
How can you protect your eyes during dark-fabric sessions?
Dark fabric demands more from your eyes than light fabric does. The contrast between the bright thread and the dark cloth, combined with the effort of finding holes, causes fatigue faster than a typical project.
The 20–20–20 rule is the most practical habit to build: every 20 minutes, pause and focus on something at least 20 feet away for 20 seconds. Set a quiet phone timer so you don’t have to track it mentally.
- Limit continuous dark-fabric sessions to 30–45 minutes before a proper break
- Alternate dark-fabric projects with a lighter piece to give your eyes a genuine rest
- Keep your magnifier at a comfortable working distance — straining forward negates its benefit
- Sit upright with the work slightly below eye level to reduce neck and eye tension
- Work near a window during daylight hours when possible; natural light is the gentlest on eyes
Pro Tip: Blinking deliberately and often sounds obvious, but focused stitchers blink far less than normal. A dry-eye reminder app or a sticky note that says “blink” near your work area genuinely helps.
Quick fixes for common dark-fabric problems
Miscounts and off-by-one errors are the most common issue. If something looks wrong, stop immediately and count back to your last confirmed grid intersection rather than guessing forward. Use a blunt needle or toothpick to gently lift stitches for unpicking — dark thread on dark fabric can be hard to see, so work under your brightest lamp.
Thread showing through the background means coverage is too thin. Add a strand and re-stitch the affected area. For small patches, you can stitch directly over existing stitches without removing them.
Puckering usually means the fabric tension is too tight in the hoop or you’re pulling thread too firmly. Re-tension the hoop so the fabric is drum-taut but not stretched, and consciously loosen your pull on each stitch.
Pro Tip: If you’ve lost your place completely, remove the fabric from the hoop, lay it flat on a light pad, and re-count from the center grid intersection. Starting fresh from a known point is faster than chasing an uncertain count.
When mistakes compound, re-mounting the fabric in the hoop and re-checking the grid alignment before continuing prevents one error from cascading into many.
Key Takeaways
Stitching on dark fabric requires bright daylight lighting, a white backing, a gridded cloth, high-contrast thread colors, and regular eye breaks before and during every session.
| Point | Details |
|---|---|
| Lighting first | Use a 5,000 K+ daylight LED lamp and a white backing or tracing pad to make holes visible. |
| Grid before you stitch | Baste a contrast grid every 10 holes to reduce miscounts on dark cloth. |
| Thread coverage matters | Add a third strand when the dark background shows through between stitches. |
| Value contrast is key | Choose thread colors at least two value steps lighter or brighter than the background. |
| Simone Balman Art patterns | High-contrast designs from Simone Balman Art work especially well on dark fabric; use the free fabric calculator to plan your project size. |
The payoff is worth every extra step
Dark-fabric projects have a reputation for being difficult, and honestly, that reputation is partly earned. The setup takes longer, the eye strain is real, and the first session on black Aida can feel like stitching in the dark — literally. But the finished result is something a light-fabric project rarely achieves: colors that glow against the background, designs that feel rich and dramatic, and a piece that genuinely stops people in their tracks.
The stitchers who struggle most are usually the ones who skip the preparation. They start without a grid, work under a dim lamp, and then wonder why counting feels impossible. The ones who enjoy it are the ones who treat the setup as part of the craft. Five minutes of gridding and a good lamp make the actual stitching feel almost normal.
Start small. A 3-inch sampler on black Aida with two or three high-contrast colors will teach you more about dark-fabric stitching than any guide can. Once you’ve done it once, the next project feels far less daunting.
Simone Balman Art patterns designed for confident stitching
Dark-fabric projects reward you most when the pattern itself is built for contrast. Simone Balman Art’s modern cross stitch patterns are designed with clear, well-defined charts that translate beautifully onto dark backgrounds, especially designs with bold outlines, bright focal colors, or strong geometric shapes.

Before you cut your fabric, use the free fabric size calculator to confirm your cloth dimensions and stitch placement. It takes 30 seconds and saves you from starting on a piece that’s too small. Browse the full pattern collection at Simone Balman Art to find a design that matches your skill level and the dark fabric you already have on hand.
Useful sources
- 11 Tips for Cross Stitching on Black Fabric — Little Lion Stitchery
- How To Cross Stitch On Black Aida — Lord Libidan
- Black Aida: 6 Tips for Cross Stitching on Dark Fabrics — Sirithre
- Cross-Stitch Color Theory: Pick Better DMC Thread Combos — Stitchies
- 3 Easy Ways to Transfer a Pattern Onto Dark Fabric — Diary of a Northern Belle
- Free Cross Stitch Tools — Simone Balman Art
- Fabric Size Calculator — Simone Balman Art
FAQ
Can you cross stitch directly onto dark fabric?
Yes. Dark fabric works just like light fabric structurally; the main adjustments are brighter lighting, a white backing to reveal holes, and high-contrast thread colors so your stitches read clearly against the background.
How do you mark a pattern on dark fabric?
Use a white gel pen (such as a Gelly Roll), a dressmaker’s white pencil, or tape the fabric and pattern over a light pad or window to trace key lines. Water-soluble marks wash out cleanly after stitching.
What embroidery looks good on black fabric?
High-contrast designs with bright, light, or warm thread colors show best on black. Bold outlines, geometric shapes, and designs with strong focal points in white, yellow, or vivid colors create the most striking results.
Do you start cross stitch with light or dark colors?
On dark fabric, start with your lightest or most defined colors first. Those stitches become visual anchors that make counting the surrounding areas much easier and reduce the risk of miscounts.


