

A cross stitch autumn seasonal project is defined as a needlework piece built around fall motifs, including pumpkins, oak leaves, acorns, harvest symbols, and woodland animals, finished as personalized home décor or a handmade gift. These projects combine the meditative rhythm of counted cross stitch with the warmth of seasonal color palettes, producing pieces that feel genuinely handmade rather than store-bought. Simone Balman Art offers a growing collection of autumn-themed digital patterns designed for stitchers at every level, from first-timers to experienced crafters ready to tackle dimensional shadow box displays. Whether you want to make cross stitch wall art for your living room or turn a finished piece into a cozy pillow, this guide walks you through every step.
What autumn motifs and patterns work best for cross stitch projects?
The most effective autumn motifs for cross stitch are those with strong silhouettes and clear color contrast. Bold shapes stitch up cleanly on Aida fabric and read well from a distance, which matters when you display cross stitch as home décor on a shelf or wall.
Popular choices include:
- Pumpkins and gourds in burnt orange, terracotta, and cream
- Oak and maple leaves in rust, gold, amber, and deep red
- Acorns and pinecones for small accent pieces or border details
- Squirrels, foxes, and crows as stitch animal pattern home décor focal points
- Harvest elements such as wheat sheaves, apples, and corn
- Woodland scenes combining trees, mushrooms, and fallen leaves
Skill level shapes which motifs you choose. A beginner does well with a single centered pumpkin on 14-count Aida, where each stitch is large enough to see clearly. An intermediate stitcher can handle a detailed maple leaf wreath with fractional stitches and backstitch outlines. Advanced crafters often combine multiple motifs into a full harvest scene, then finish it as wall art or a shadow box display.
Autumn color palettes center on warm earth tones. DMC thread colors like 920 (copper), 3826 (golden brown), 3830 (terracotta), 3852 (straw gold), and 500 (deep forest green) create an authentic fall feel. Mixing two or three of these with a neutral cream or off-white background keeps the design cohesive without looking muddy. You can also browse the Falling Leaf pattern from Simone Balman Art for a ready-made color palette that captures the season beautifully.
What materials and tools do you need for an autumn cross stitch project?
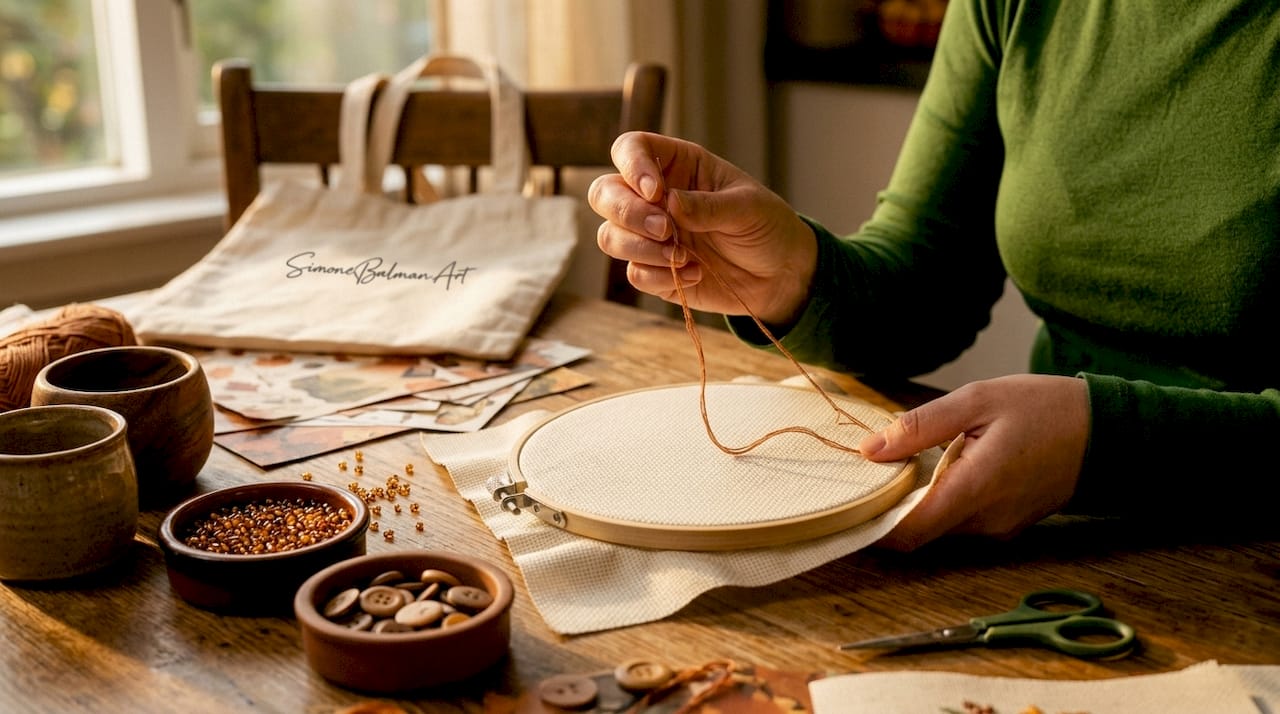
The right materials make stitching enjoyable rather than frustrating. For autumn projects, fabric choice and thread color coordination matter more than most crafters expect.
| Material | Best for | Notes |
|---|---|---|
| 14-count white Aida | Beginners, bold motifs | Easy to see stitches; crisp background |
| 18-count antique white Aida | Intermediate, detailed designs | Finer finish; suits harvest scenes |
| 28-count evenweave linen | Advanced, heirloom pieces | Natural, vintage look; stitched over two threads |
| DMC cotton floss | All levels | Wide autumn color range; colorfast |
| Wool thread | Texture accents | Adds warmth; use sparingly for embellishments |
Optional embellishments add real depth to fall designs. Small amber or brown seed beads mimic acorn textures. Tiny wooden buttons shaped like leaves or pumpkins work beautifully as finishing accents. Layered felt or wool cut-outs placed behind stitched elements create a dimensional look that flat frames simply cannot replicate.
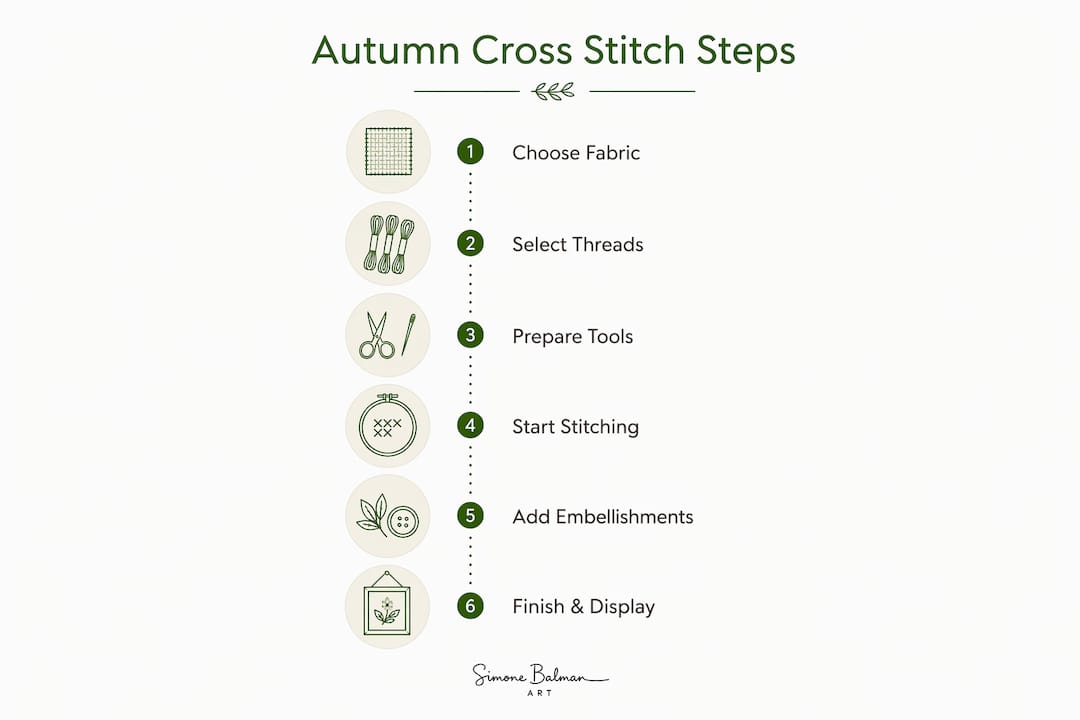
For tools, you need a size 24 or 26 tapestry needle, a 6-inch or 8-inch embroidery hoop or a scroll frame for larger pieces, and sharp scissors. A needle minder keeps your needle safe between sessions, and a daylight lamp reduces eye strain during detailed work.
Pro Tip: Before you start stitching, hold your chosen fabric and thread together in natural light. Autumn threads can look very similar indoors. Checking them in daylight prevents color surprises once the piece is finished.
How to stitch and incorporate texture into your autumn project
Basic cross stitch on 14-count Aida uses two strands of DMC floss for the crosses and one strand for backstitch outlines. This ratio gives autumn motifs clean edges without the design looking heavy or overworked. For 18-count fabric, drop to one or two strands for crosses and one strand for backstitching.
Adding texture is where autumn projects become genuinely exciting. Dimensional embellishments like beads, buttons, and layered fabric cut-outs enhance visual depth in ways that flat stitching alone cannot achieve. Harvest-themed designs especially benefit from this approach because the season itself is rich with varied textures: rough bark, smooth gourds, papery leaves.
Follow these steps to add dimensional elements cleanly:
- Complete all cross stitches first. Finish the base design before adding any embellishments so you can see exactly where accents will land.
- Mark bead placement lightly with a water-soluble pen. This prevents uneven spacing across a leaf cluster or pumpkin stem.
- Attach beads with a half-stitch method. Thread through the bead twice in opposite directions to lock it firmly in place.
- Cut felt or wool shapes slightly smaller than the stitched motif. This keeps the layered element hidden behind the design rather than peeking out at the edges.
- Stack double cut-out elements for shadow box windows. Layering two identical shapes improves rigidity and gives the piece a sculpted, professional look.
- Attach buttons last. Sew them on with matching thread so the stitching blends into the design.
Pro Tip: Limit yourself to two or three types of embellishment per piece. Mixing beads, buttons, felt, and wool all at once creates visual noise. Pick the combination that best suits your motif and stick with it.
How do you finish and display your cross stitch autumn seasonal project professionally?
Finishing is where a cross stitch project becomes a display piece. The method you choose depends on the design’s complexity, your budget, and where you plan to show it.
Shadow boxes are the preferred display method for dimensional or themed cross stitch pieces because they provide depth to house decorative objects alongside the stitching. A shadow box protects delicate beads and buttons that a flat frame would crush, and it lets you include small thematic props like a dried leaf, a tiny pinecone, or a ribbon tied in autumn colors. Shadow boxes also allow customized backgrounds, making the box itself part of the artwork composition.
| Finishing method | Skill level | Cost | Best use case |
|---|---|---|---|
| Shadow box | Intermediate | Medium | Dimensional designs with embellishments |
| Standard frame | Beginner | Low | Flat designs, wall art, kitchen décor |
| Embroidery hoop display | Beginner | Very low | Quick display; casual seasonal rotation |
| Pillow (turn cross stitch into pillow) | Intermediate | Medium | Cozy home accent; gift option |
| Make cross stitch shadow box with foam board | Intermediate | Low | Budget-friendly professional finish |
For mounting inside a shadow box or frame, lacing with cotton or quilting thread is the professional standard. Lacing holds the fabric taut without adhesives, which can warp the weave over time. Mounting on sturdy cardboard or foam board prevents sagging and keeps the fabric flat for decades.
Seasonal display strategies make autumn pieces even more enjoyable. Magnetic and clip frames let you swap pieces in and out without reframing, which is perfect for rotating décor between seasons. When the piece is not on display, store it with acid-free materials in a climate-controlled space to protect it from dust and light damage for years to come.
Key display tips at a glance:
- Measure your finished piece including all embellishments before buying a frame or shadow box
- Use a neutral or complementary fabric as the shadow box background
- Hang autumn pieces at eye level for maximum visual impact
- Group small pieces together as a seasonal gallery wall for a collected, curated look
What common challenges come with autumn cross stitch projects?
Every stitcher hits snags, and autumn projects have a few specific ones worth knowing before you start.
- Fabric sagging in the hoop. Re-tension your hoop every 20 minutes of stitching. Loose fabric causes uneven stitches that show up clearly in bold autumn motifs.
- Thread color bleeding. Test DMC floss in deep autumn shades (especially reds and oranges) by dampening a strand on white paper before stitching. Colorfast threads rarely bleed, but it is worth checking.
- Overcrowding embellishments. Adding too many beads or buttons makes the design look cluttered. Plan placement on paper before attaching anything permanently.
- Perforated paper background gaps. When using perforated paper for shadow box elements, stitch the background with matching floss to create a seamless appearance. Leaving it unstitched creates visible holes that distract from the design.
- Motif misalignment. Count from the center of your fabric outward, not from the edge inward. Centering prevents the design from sitting awkwardly off to one side.
Pro Tip: Pre-measure your finished piece including all embellishments before purchasing your shadow box or frame. A piece that is even half an inch too wide creates a frustrating fitting problem that is hard to fix after the fact.
Key Takeaways
A successful cross stitch autumn seasonal project depends on choosing the right motifs, preparing quality materials, adding texture thoughtfully, and finishing with a display method that protects and showcases the work.
| Point | Details |
|---|---|
| Choose bold autumn motifs | Pumpkins, leaves, and woodland animals stitch cleanly and display well as home décor. |
| Match fabric count to skill level | 14-count Aida suits beginners; 18-count or linen suits intermediate and advanced stitchers. |
| Add texture with restraint | Limit embellishments to two or three types per piece to keep the design focused. |
| Use lacing, not adhesive | Lacing fabric onto foam board or cardboard prevents warping and extends the piece’s life. |
| Plan display before you stitch | Measuring your finished size including embellishments helps you choose the right frame or shadow box. |
Why finishing is the part I think about from stitch one
When I design an autumn pattern, I am already picturing how it will look mounted and displayed. That might sound backwards, but finishing shapes every decision I make during the design process. A piece destined for a shadow box gets more dimensional elements. A design meant to become a pillow stays flatter and uses tighter backstitch outlines so the seams hold cleanly.
The motif I keep coming back to for fall is the falling leaf. It is simple enough for a newer stitcher to complete in a weekend, but it has enough shape variation to carry a full shadow box composition when you add a few layered felt accents. I have seen stitchers frame the same leaf pattern five different ways and each one looks like a completely different piece. That flexibility is what makes autumn cross stitch so satisfying.
My honest advice: do not skip the finishing research before you start stitching. Most project frustration happens at the end, not the beginning. Knowing whether you want to make cross stitch wall art or turn the piece into a pillow changes how you prepare your fabric margins, how you handle the edges, and which embellishments you add. A little planning at the start saves a lot of unpicking at the end.
Autumn is also the season where I encourage stitchers to be a little bolder with color. The palette gives you permission to use deep, saturated shades that feel dramatic without being garish. Trust the warm tones. They work.
— Simone
Autumn patterns and tools from Simone Balman Art
Ready to start your fall project? Simone Balman Art has everything you need in one place.
Browse the autumn pattern collection for seasonal designs available as digital PDFs and printed editions, including the Falling Leaf and Autumn Heart patterns. Before you cut your fabric, use the free fabric size calculator to get your measurements right the first time. You can also use the pattern size calculator to see exactly how a design will fit on your chosen fabric count. Every tool is free, and every pattern comes with a clear chart designed for an enjoyable stitching experience from start to finish.
FAQ
What is a cross stitch autumn seasonal project?
A cross stitch autumn seasonal project is a needlework piece featuring fall motifs such as pumpkins, leaves, acorns, and harvest symbols, designed as home décor or a handmade gift. These projects use counted cross stitch on Aida or linen fabric with warm DMC thread colors in amber, rust, and gold.
What is the best way to display cross stitch as home décor?
Shadow boxes are the preferred display method for dimensional autumn designs because they protect embellishments and allow thematic props alongside the stitching. Flat designs work well in standard frames or embroidery hoops for a casual, quick-change seasonal display.
How do I turn cross stitch into a pillow?
Complete your cross stitch design with clean fabric margins of at least 2 inches on all sides, then sew a backing fabric to the front with right sides together, leaving an opening for stuffing. Use a firm pillow insert or polyfill, then hand-stitch the opening closed.
What fabric count should I use for an autumn cross stitch project?
14-count Aida is the best starting point for beginners working on autumn motifs because the holes are easy to see and the stitches are large enough to show detail clearly. Intermediate stitchers can move to 18-count Aida or 28-count evenweave linen for a finer, more detailed finish.
How do I make a cross stitch shadow box for an autumn design?
Mount your finished cross stitch on foam board using the lacing method, then place it inside a deep shadow box frame with room for small thematic objects. Pre-measure your piece including all embellishments before purchasing the box to avoid fitting issues.


