

If you’re trying to decide between counted vs stamped cross stitch, here’s the short answer: stamped is the easiest place to start, and counted gives you the most creative freedom long-term. Stamped kits get you stitching in about five minutes with no chart-reading required. Counted cross stitch takes a little more setup, but you can resize designs, swap colors, and reuse patterns on any fabric you like.
- Choose stamped if you’re brand new to the craft, want a relaxing evening project, or need a quick gift with a deadline.
- Choose counted if you want crisp, detailed results, the ability to customize, or you’re ready to grow your skills.
- Best practical tip: Try a small counted starter kit first so you learn the core skill, then keep one stamped project on hand for low-focus evenings.
Table of Contents
- What’s the difference between counted and stamped cross stitch?
- What materials and tools do you need for each method?
- How do skill level, time, and cost compare?
- How does the finished look differ, and can you customize either method?
- Does stamped printing wash out, and how do you care for each method?
- How do you choose between counted and stamped for your next project?
- How do you start your first counted or stamped project?
- Where can you learn more and find tools to help you decide?
- Key Takeaways
- Why both methods deserve a place in your stitching life
- Ready to stitch your first counted project?
- Useful sources
- FAQ
What’s the difference between counted and stamped cross stitch?
Both methods produce the same X-shaped stitches, but the way you follow the design is completely different.
Counted cross stitch starts with blank fabric and a gridded chart. According to Britannica, counted cross stitch is a form of counted-thread embroidery where you count fabric threads or squares to place each stitch precisely. Your chart is essentially a color-coded map: each square on the grid represents one stitch, and each color or symbol tells you which floss to use. You transfer the design from paper (or screen) to fabric entirely by counting.
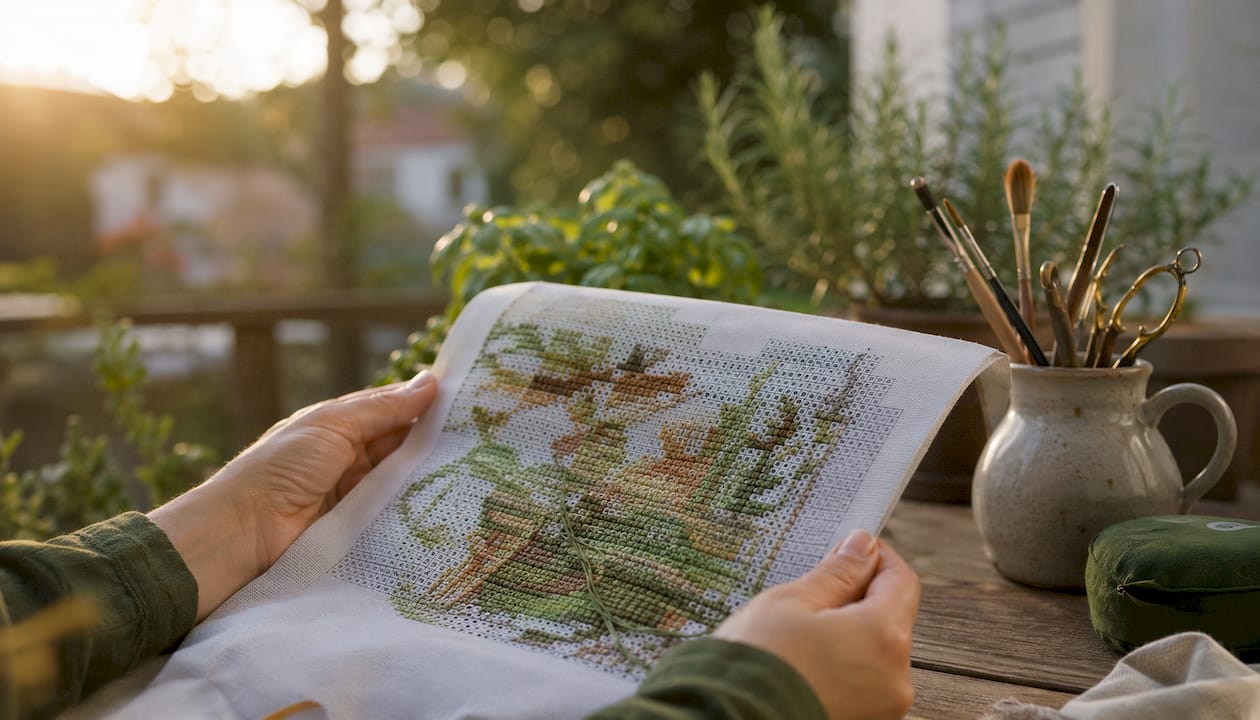
Stamped cross stitch skips that transfer step. The design is pre-printed directly onto the fabric, often as a dense pixel grid where each cell contains a small letter, number, or symbol that maps to a specific floss color, much like a paint-by-numbers sheet. You simply stitch over the printed guide without counting a single thread.
In practice, the difference feels significant. With a counted chart, you’re reading a map and navigating the fabric yourself. With stamped fabric, the map is already drawn on the canvas waiting for you. Neither approach is wrong. They just suit different moods, skill levels, and project goals. If you’re curious about the chart format itself, the printed vs digital patterns guide on Simone Balman Art explains how different chart types work in more detail.
What materials and tools do you need for each method?
The good news: both methods share most of the same core supplies. Where they differ is mostly in the fabric and whether you need a chart.
Shared supplies for both methods
- Tapestry needle (size 24 or 26 for most Aida counts)
- Six-strand embroidery floss (DMC or Anchor, separated into 2–3 strands per stitch)
- Embroidery hoop or frame (keeps fabric taut and stitches even)
- Small scissors with a sharp point
- Good lighting (more important than most beginners expect)
What counted cross stitch adds
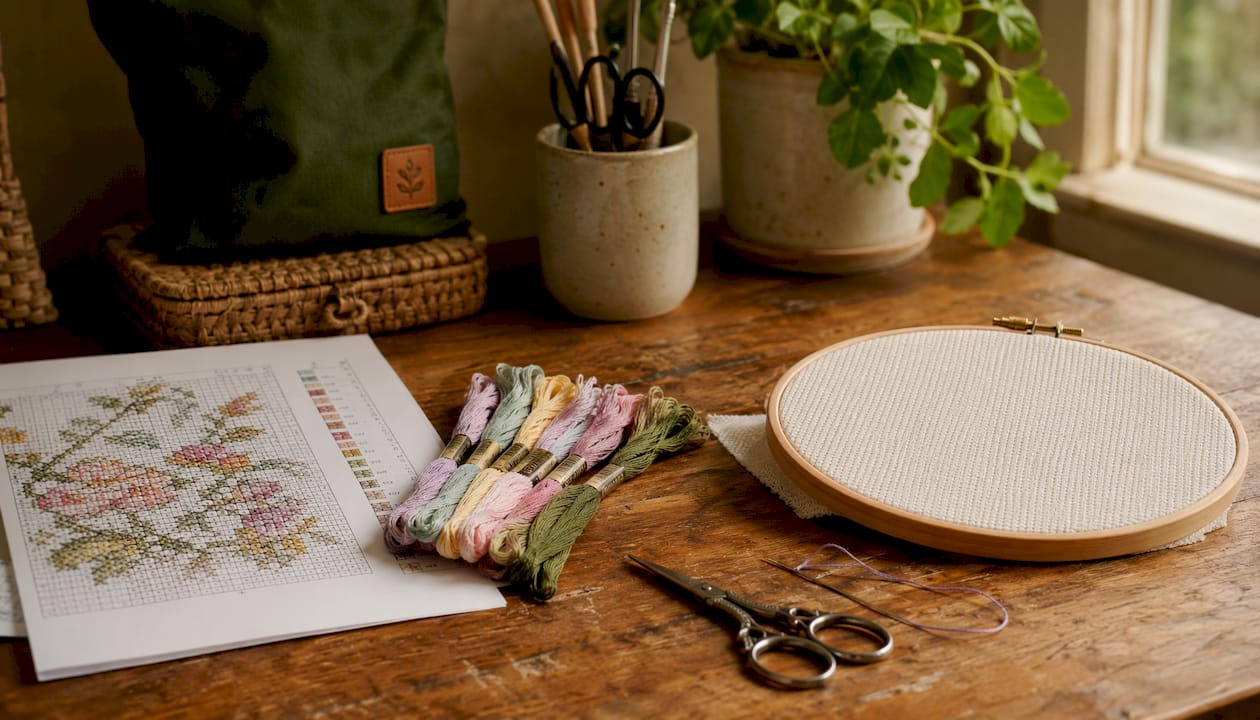
Counted projects require a chart, either printed on paper or as a digital PDF. You also need to understand fabric count, which refers to the number of stitches per inch. Wikipedia’s cross-stitch entry notes that fabric counts range from 11 to 40 count, with lower numbers producing larger stitches and higher numbers producing finer detail. Most beginners start on Aida fabric with a fabric count that gives a comfortable stitch size and is easy to count. You can also work on evenweave or linen for a softer, more traditional look.
What stamped cross stitch simplifies
Stamped kits come with the fabric already printed, so you don’t need a separate chart. The Aida in budget kits is sometimes lower quality, but the setup is minimal. You won’t need marking pens because the design is already there. Most stamped kits include everything in the box: fabric, floss, needle, and instructions.
Typical cost ranges
| Item | Counted | Stamped |
|---|---|---|
| Small beginner kits are similarly priced for both methods. | ||
| Fabric only (Aida fabric with a mid-range count, fat quarter) | $4 | Included in kit |
| Chart / pattern (digital PDF) | $5 | Included in kit |
| Floss (per project, 10 colors) | $5–$10 | Included in kit |
Both methods land in a similar price range at the entry level. Where counted can get more expensive is in premium kits with hand-dyed threads, specialty evenweave fabric, or large, complex designs.
How do skill level, time, and cost compare?
| Factor | Counted cross stitch | Stamped cross stitch |
|---|---|---|
| Learning curve | Moderate: chart-reading and counting to learn | Low: stitch directly over printed guide |
| Time to first stitch | ~20–30 minutes (centering, chart prep) | ~5 minutes (open kit, start stitching) |
| Best skill level | Beginner to advanced | True beginner or casual stitcher |
| Small project time | 3 hours (varies by count and design) | 2–6 hours (similar size) |
| Design flexibility | High: resize, recolor, reuse patterns | Low: fixed to printed design |
| Entry kit cost | $40 | $40 |
| Premium kit ceiling | Higher (specialty fabrics, hand-dyed floss) | Lower (mass-market focus) |
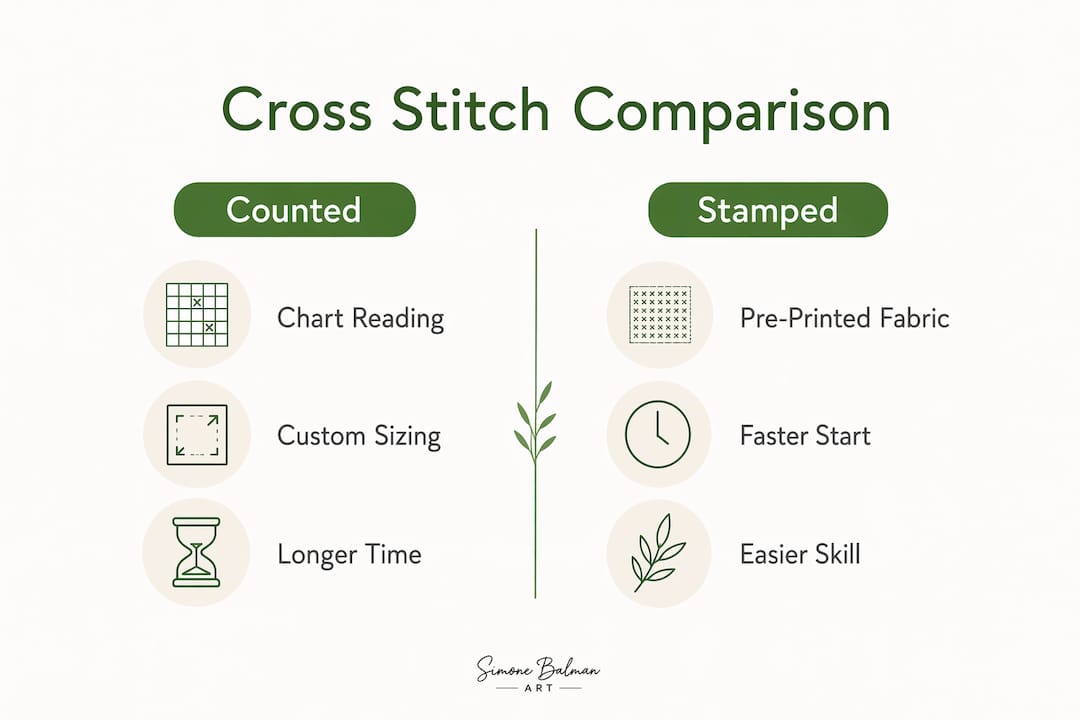
The time-to-first-stitch gap is real and worth taking seriously if you’re a beginner. Stamped kits get you into a rhythm almost immediately, which builds confidence fast. Counted projects ask you to slow down before you even pick up the needle, and that prep time can feel discouraging on day one. Once you’ve done it a few times, though, the centering and chart setup becomes second nature and takes far less time.
How does the finished look differ, and can you customize either method?
The finished results can look very similar to an untrained eye, but there are real differences once you know what to look for.
Counted projects tend to produce a crisp, clean finish. Because you choose your fabric count, you control the final size and the level of detail. A design stitched on 18-count Aida will be noticeably finer and more detailed than the same design on 11-count. That flexibility is one of the biggest benefits of counted cross stitch: you can reuse the same pattern on different fabrics, swap out colors entirely, or scale the design up or down without buying a new kit.
Stamped projects look full and satisfying when complete, but the printed grid sits underneath your stitches until you wash the piece. Before washing, you’ll see the printed lines peeking through any unstitched areas, which can make the work-in-progress look a little busy. The designs also tend toward a slightly blockier feel, especially in kits with lower thread counts. Modern stamped kits often print a high-contrast pixel grid with embedded symbols for each cell, which works well for bold, graphic designs but can limit fine detail.
Design libraries reflect this difference too. Contemporary independent designers overwhelmingly publish counted patterns, while stamped kits skew toward traditional florals, sentimental text, and mass-market characters. If you want something modern, artistic, or highly specific, counted is almost certainly where you’ll find it.
Pro Tip: If you’re moving from stamped to counted for the first time, start on Aida fabric with a mid-range count with a design under 3,000 stitches and fewer than 10 colors. The stitch size is forgiving, and a small design lets you build counting confidence without committing to a long project.
Does stamped printing wash out, and how do you care for each method?
Yes, the printed ink on stamped fabric is typically water-soluble and designed to rinse out completely after stitching. That said, not every kit behaves the same way, so it’s worth testing before you commit.
How to test and wash stamped cross stitch
- Test a corner first. Before you stitch the whole piece, dampen a small corner of the printed fabric with a cotton swab dipped in lukewarm water. If the ink lifts cleanly, the print is water-soluble and should wash out fully.
- Fill your stitches completely. Unstitched printed areas are harder to hide after washing. Aim for full coverage before you wash.
- Soak in lukewarm water with a small amount of mild soap (a drop of dish soap or gentle hand soap works well). Let it soak for a few minutes rather than scrubbing.
- Rinse gently under cool running water until the water runs clear. Avoid wringing or twisting the fabric.
- Roll in a clean towel to absorb excess moisture, then lay flat or pin to a blocking board to dry.
For counted pieces, there’s no printed ink to worry about, but the same gentle hand-wash approach applies. Use cool or lukewarm water, mild soap, and avoid agitation that could distort the stitches or fabric weave.
Both methods benefit from a light press after drying. Place the finished piece face-down on a thick towel, cover with a pressing cloth, and use a low-heat iron. This flattens the fabric without crushing the stitches. For framing and display options, the cross stitch finishing techniques guide on Simone Balman Art covers blocking, mounting, and framing in detail.
How do you choose between counted and stamped for your next project?
Run through these five quick prompts and your answer will usually be clear:
- How much time do you have to start? Less than 10 minutes to spare before you want to be stitching? Choose stamped.
- How important is the finished quality? If this is a gift for a milestone occasion or a piece you want to frame and keep, counted gives you more control over the result.
- Are you comfortable reading a chart? If the idea of counting squares sounds fun rather than stressful, counted is a great fit. If it sounds exhausting right now, stamped is the better starting point.
- Who is this project for? Stitching with a child or an elderly relative? Stamped removes the counting barrier and keeps the focus on the joy of stitching together.
- Do you need to customize? Changing colors, resizing, or personalizing a design requires counted. Stamped kits are fixed.
Scenario recommendations
- Quick gift with a deadline: Stamped kit, every time. The gift ideas for crafters resource has good inspiration if you’re shopping for a stitcher too.
- Learning the craft properly: Start with a small counted kit on Aida fabric with a mid-range count. The skills you build transfer to every future project.
- Meditative TV stitching: Stamped wins here. It reduces chart-reading and counting, so you can stitch along without pausing the show.
- Stitching with a child: Stamped, with a bold design and chunky 11-count Aida for easier needle handling.
The simple rule of thumb: if you want to learn the craft, start with a small counted kit. If you want a quick, enjoyable project right now, choose stamped. Many stitchers keep one of each going at the same time, using counted for focused daytime sessions and stamped as a low-decision side project for evenings. That combination works beautifully.
For quick gift-ready project ideas, the cross stitch gift project examples page on Simone Balman Art has options for both methods.
How do you start your first counted or stamped project?
Starting a small counted project
- Choose a beginner-friendly design: Under 3,000 stitches, fewer than 10 colors, on Aida fabric with a mid-range count. A small floral or animal motif works perfectly.
- Find the center of your fabric: Fold it in half twice and mark the center point lightly with a water-soluble pen or a small stitch.
- Find the center of your chart: Most charts mark this with arrows on the edges. Match chart center to fabric center.
- Secure the fabric in your hoop: Keep it taut but not stretched so tight that the weave distorts.
- Start stitching the central motif: Work outward from the center, one color at a time or one block at a time (called the cross-country or parking method).
- Track your place on the chart: Use a magnetic board, a sticky note, or a digital chart app to mark your row as you go.
Common mistake to avoid: Miscounting by one square is the most frequent beginner error. Check your count every 5–10 stitches rather than after a long run, so corrections stay small.
Starting a small stamped project
- Read the legend on the printed fabric: Each printed symbol or letter maps to a floss color. Match them before you cut any thread.
- Decide where to start: Most stitchers begin at the top left or the center of the design. Either works; just be consistent.
- Stitch over the printed cells: Cover each printed symbol completely with your X-stitch so no ink shows through.
- Plan your wash timing: Don’t wash until the piece is fully stitched. Washing mid-project can cause the remaining print to shift or fade unevenly.
Common mistake to avoid: Skipping the test wash (described in the care section above) before you stitch the whole piece. A quick corner test takes 30 seconds and saves a lot of worry later.
For a gentle, well-charted first counted project, the beginner floral pattern guide on Simone Balman Art is a great place to start.
Where can you learn more and find tools to help you decide?
Simone Balman Art resources
The fabric size calculator on Simone Balman Art is one of the most practical free tools available for counted stitchers. It converts stitch counts to finished dimensions across different fabric counts, so you can see exactly how large a design will be on 14-count versus 18-count Aida before you buy a single thing. This is especially useful when you’re deciding whether a counted pattern will fit the frame you already have.
Simone Balman Art also offers a growing library of digital PDF patterns with clear, well-labeled charts designed to be beginner-friendly. Every pattern includes a full color and symbol key, stitch counts, and recommended fabric sizes.
Authoritative technique references
For deeper technique background, the RSN StitchBank cross-stitch entry from the Royal School of Needlework covers the historical and technical context of counted-thread embroidery across different traditions. The Britannica cross-stitch article is a reliable reference for definitions and technique fundamentals.
Key Takeaways
Stamped cross stitch is the fastest way to start stitching, but counted cross stitch gives you the creative control, design flexibility, and finish quality that most stitchers want long-term.
| Point | Details |
|---|---|
| Stamped = fastest start | Stamped kits get you stitching in about 5 minutes with no chart prep needed. |
| Counted = more flexibility | Counted lets you resize, recolor, and reuse patterns across any fabric count. |
| Cost is similar at entry level | Small beginner kits for both methods typically run $40. |
| Many stitchers use both | Counted for focused sessions, stamped for relaxed evenings — both have a place. |
| Simone Balman Art supports both paths | Free tools like the fabric calculator and beginner-friendly counted patterns help you plan and start with confidence. |
Why both methods deserve a place in your stitching life
Here’s an opinion you won’t hear often: the debate between counted and stamped cross stitch is a little overblown in online craft communities. Counted stitchers sometimes look down on stamped kits as “not real” cross stitch, and that attitude genuinely puts beginners off a craft they would otherwise love.
Stamped cross stitch is real cross stitch. The stitches are identical. The meditative rhythm is the same. What changes is the entry point, and a lower entry point is not a flaw. It’s the reason some people discover they love this craft at all.
That said, I do think counted cross stitch is worth learning, even if stamped is where you start. The moment you realize you can take any counted pattern, change the fabric count, and produce a completely different finished size, something clicks. The craft stops feeling like a kit you follow and starts feeling like a skill you own. That shift is worth the extra 20 minutes of setup on your first counted project.
My honest recommendation: don’t choose between them permanently. Start wherever feels comfortable, and let curiosity pull you toward the other method when you’re ready.
Ready to stitch your first counted project?
Simone Balman Art makes it easy to take that first counted step without guessing at fabric sizes or hunting for beginner-friendly charts. The free cross-stitch fabric calculator shows you exactly how large any design will be on your chosen fabric count before you buy, so there are no surprises when the fabric arrives.
The pattern library at Simone Balman Art includes digital PDF downloads designed with clear charts, full color keys, and beginner-appropriate stitch counts. If you want a small, satisfying first counted project, the vintage sewing machine pattern is a lovely place to begin. Download the pattern, run your fabric count through the calculator, and you’ll be ready to stitch your first counted piece with everything planned out ahead of time.
Useful sources
- Cross-stitch — Wikipedia: Covers fabric counts (11–40 count), evenweave types, and the technical definition of counted cross stitch; good for technique fundamentals.
- Cross-stitch embroidery — Britannica: Authoritative definition of counted-thread embroidery and the history of the craft.
- RSN StitchBank: Cross Stitch: The Royal School of Needlework’s technique reference; covers historical context and stitch construction across traditions.
- Counted vs Stamped Cross Stitch — Tapestry Market: Practical comparison of both methods including time-to-first-stitch estimates, kit cost ranges, and design library differences.
- Complete Guide to Counted and Stamped Cross Stitch — Caterpillar Cross Stitch: Detailed care and washing guidance for stamped fabric, including the lukewarm soak method.
- Fabric Size Calculator — Simone Balman Art: Free tool to convert stitch counts to finished dimensions across fabric counts; practical for planning any counted project.
- Cross Stitch Finishing Techniques — Simone Balman Art: Covers blocking, mounting, and framing options for both counted and stamped finished pieces.
- Printed vs Digital Cross Stitch Patterns — Simone Balman Art: Explains chart formats and helps stitchers choose between printed and digital pattern options.
FAQ
What is easier, counted or stamped cross stitch?
Stamped cross stitch is easier for absolute beginners because the design is pre-printed on the fabric, removing the need to read a chart or count threads. Counted cross stitch has a slightly steeper learning curve but becomes straightforward with a little practice.
Does stamped cross stitch wash out?
Yes, the printed ink on stamped fabric is typically water-soluble and rinses out with a lukewarm soak and mild soap. Always test a small corner of the fabric before stitching the full piece to confirm the ink lifts cleanly.
What does stamped cross stitch look like?
Stamped fabric shows a printed pixel grid with small letters, numbers, or symbols in each cell that correspond to floss colors. Once stitched and washed, the finished piece looks the same as a counted project, with no visible printing remaining.
Is counted cross stitch still popular?
Counted cross stitch is very much alive and growing, particularly among independent designers and modern stitchers. Contemporary pattern libraries are dominated by counted designs, which offer far more variety in style, subject matter, and complexity than stamped kits.


